

You will need a rubber coaster base, a four-inch square of two-sided fusible web (I prefer either Lite or Regular Steam-a-Seam 2), and fabric that is at least 4" square.
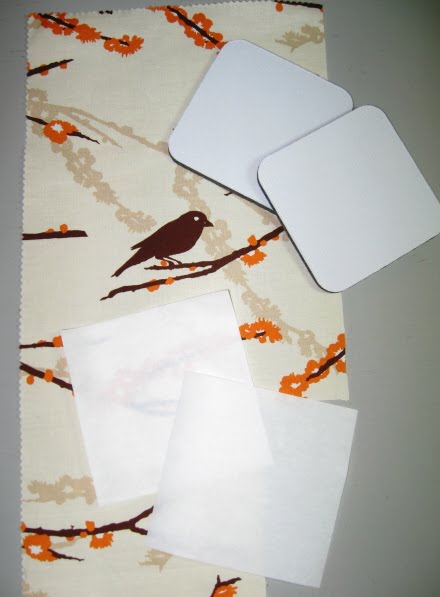
The rubber coaster base is black on one side and white on the other. Fuse the fabric to the white side of the coaster. Another thing to know about the coaster base is that it is heat resistant; great for hot drinks or under a hot bowl of soup.

Remove one side of paper from the fusible web. It is paper on two sides and sticky in the middle. Usually, one side of the paper comes off easier than the other. You can fiddle with a corner to see which paper comes loose first.

You should be able to rub your finger over the surfaces between and feel that one side has the rough, sticky fusible while the other side is smooth paper. Peel the paper off and discard. Position the fusible sticky side down on to the WRONG side of your fabric. I emphasize wrong side because that is one of the most common errors for new users of fusible web products. Iron the fusible web to the fabric. Set your iron as you would to iron the fabric. This example uses cotton fabric, so I chose a cotton setting with steam. It takes about five seconds of ironing for the fusible to set. You can check the corner with your finger to make sure it is fully bonded. Iron a few more seconds and try again if it isn't.

Cut out the fabric around the fusible. There's no need to be neat about this step. You will be doing final trimming later. Make sure you cut on or just outside the edge of the fusible area.
 Pull the remaining paper backing off the wrong side of the fabric. Again, you may need to fiddle with the corner to get it started. Discard the paper.
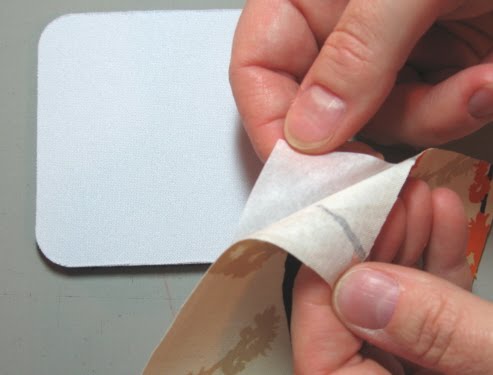
Center the fabric on top of the white side of the coaster. The fabric is four inches square and the coaster is 3 1/2 inches square. This gives you some play room in determining the final fabric placement on the coaster.

Once you are happy with the placement, use your fingers to smooth the fabric onto the coaster. It is easy to get a wrinkle in the final result if you do not carefully smooth the fabric to the coaster.

Here's what it should look like from the back.

With the fabric facing up, iron it to the coaster. Trim the edges around the coaster. It is better to leave a tiny bit extra rather than to trim it too close.

Tah-dah! A finished coaster.
If you'd like to make your own, kits are available in the Studio Dragonfly Etsy Shop. The kits come with four coaster bases, four squares of fusible web, and instructions. Enjoy!
No comments :
Post a Comment
Thank you. I really appreciate you taking the time to leave a comment.