What an exciting finish. I had expected this quilt to take me well into August, but I got into a quilting groove this morning, and look what happened!
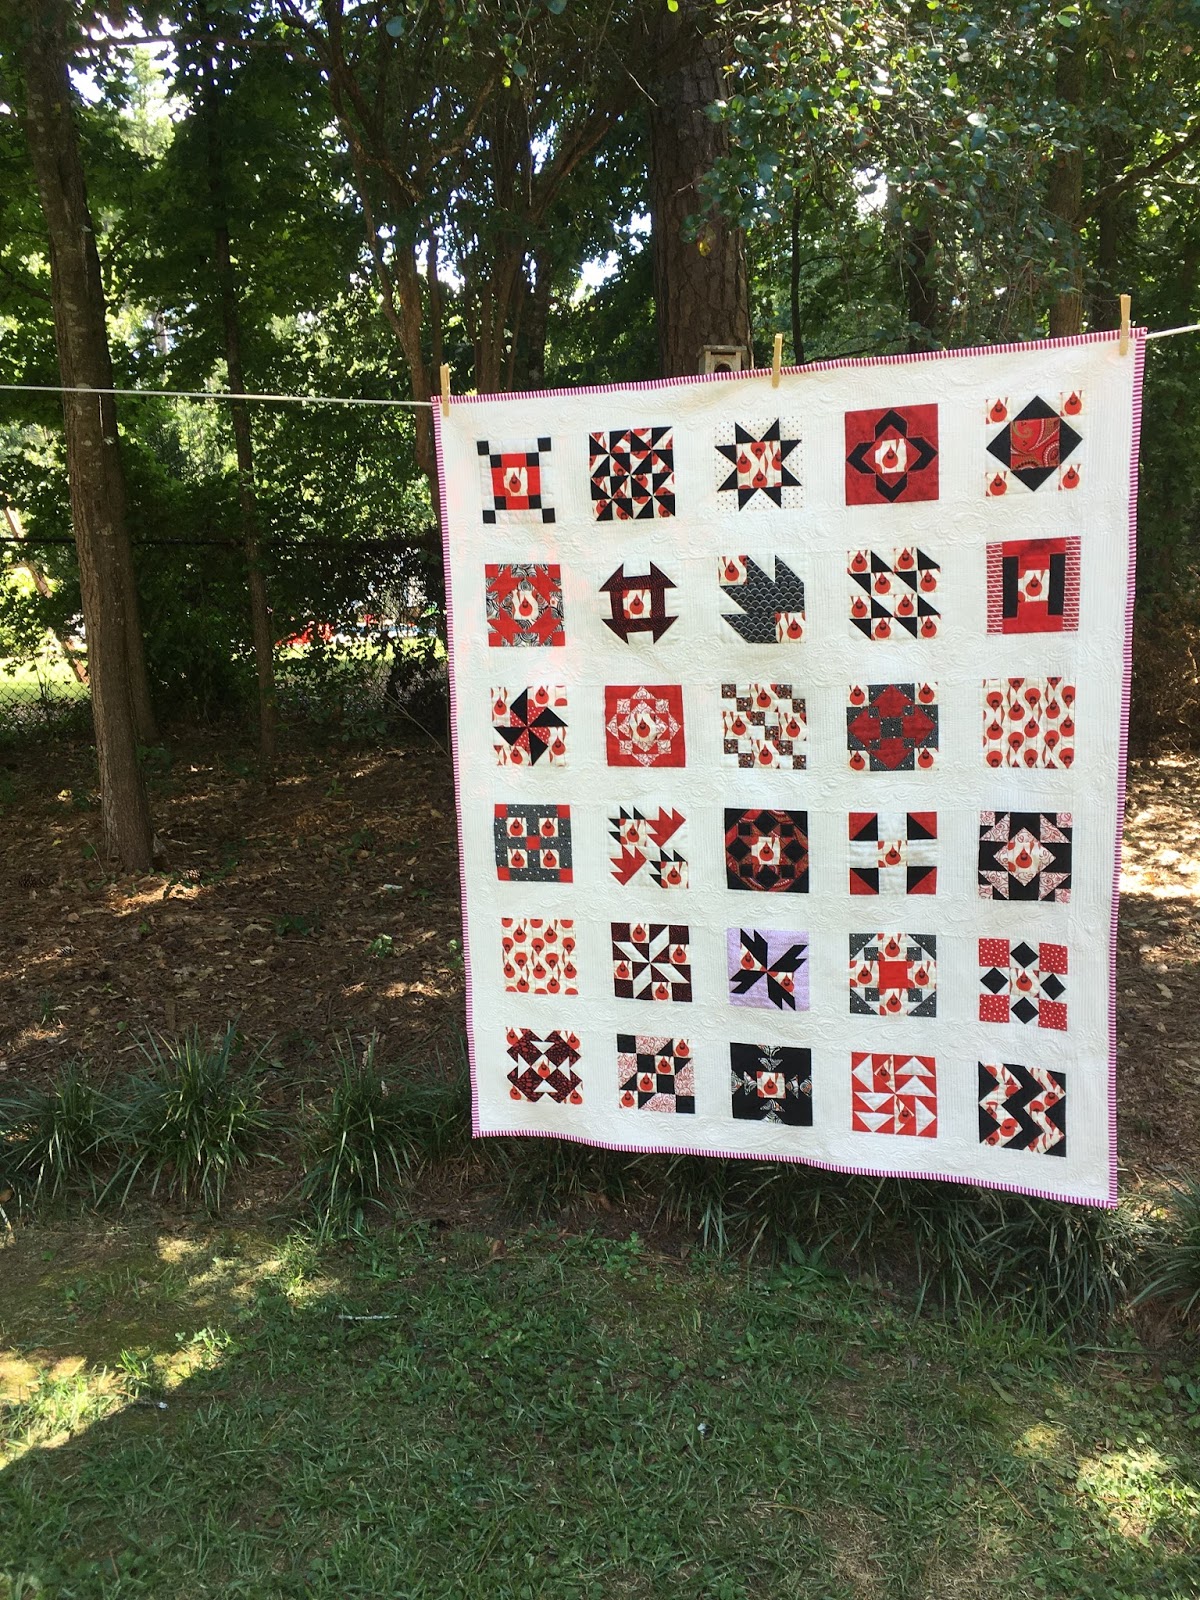
It all started with a one yard purchase of Charley Harper cardinal print. It sat and sat in my sewing room. I wanted to use it but I could never settle on a project, until the Moda Sampler Shuffle began. I knew right away that fussy cutting those cute birds to work in the sampler blocks would be lots of fun.

When I started this project, I was blogging a lot more, and the pace was just right to provide a regular blog feature, a few finished blocks at a time. All of the other fabric in the blocks is from stash, which was a good way to use up some of my red, white, and black fabrics.

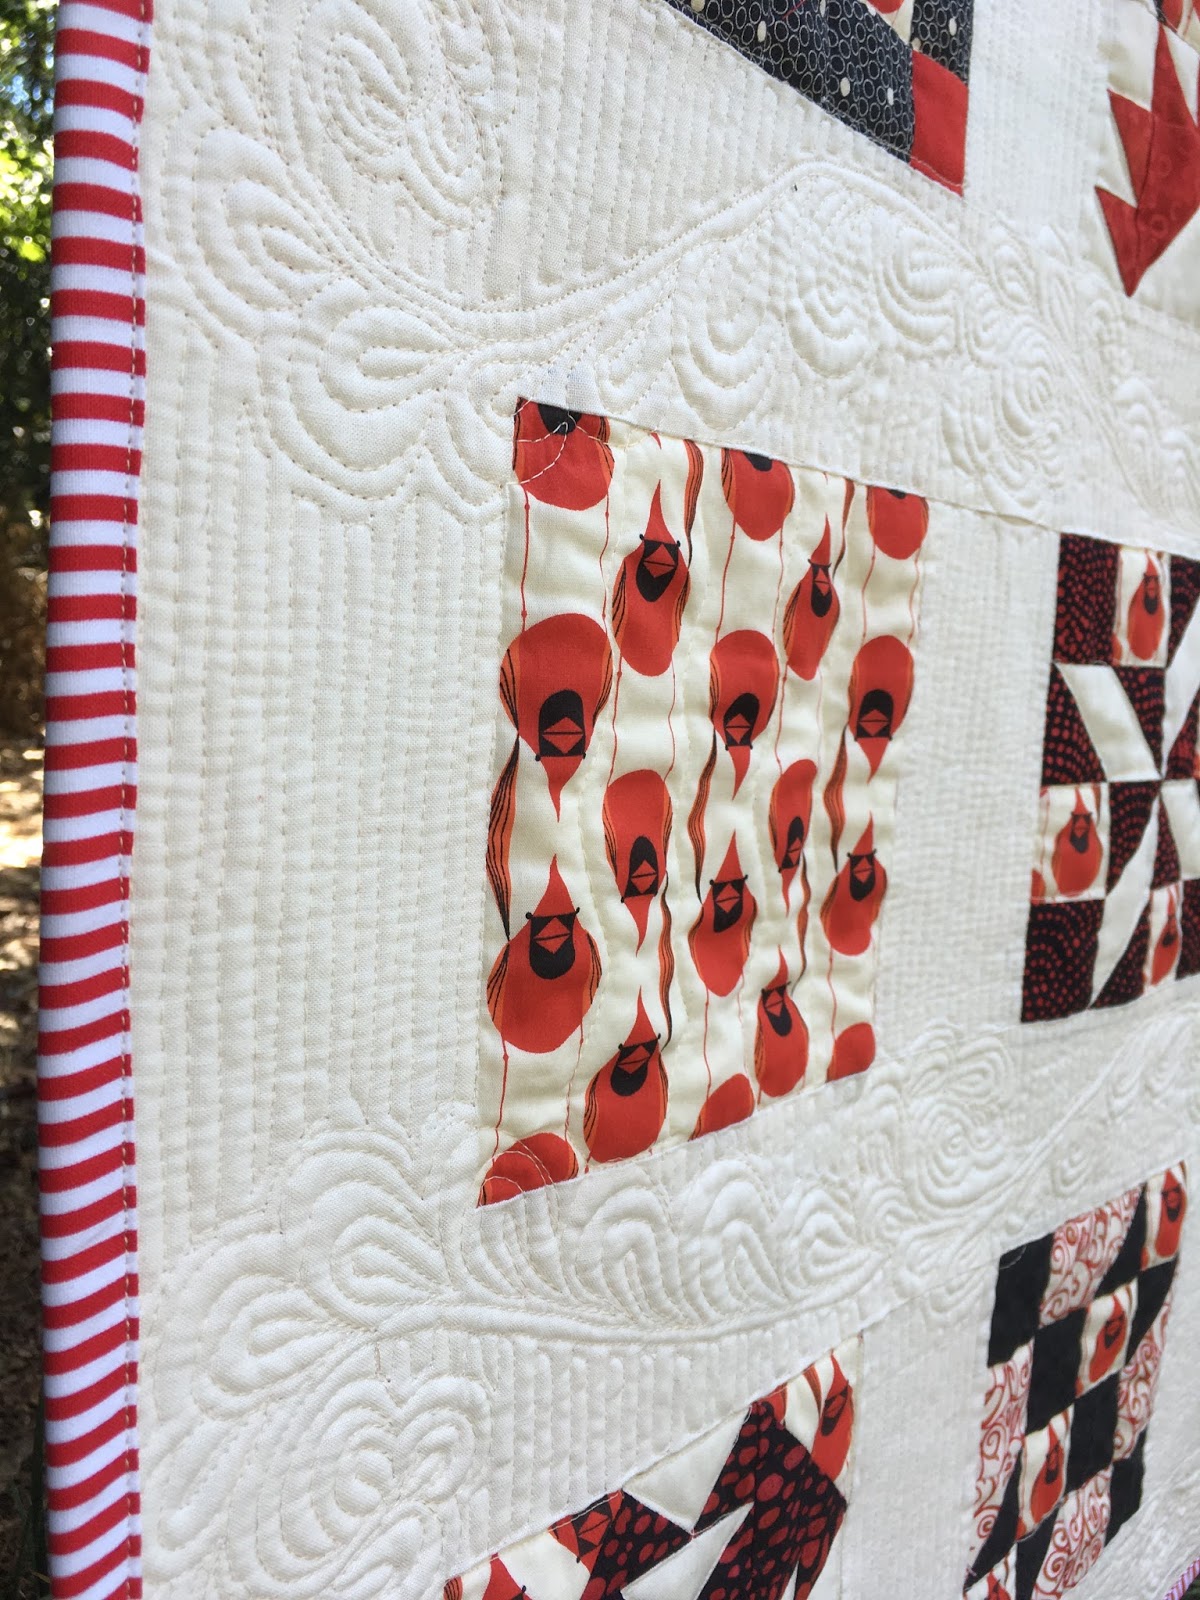
The only downfall in using older stash is that one of the reds is a bleeder. I'm not sure if you can tell in the picture, but the white with red print is starting to look a little pink because the red solid is making its way onto that fabric. I used a blue water soluble pen to mark the curves for the stems of my paisley feathers. When I sprayed the pen marks off, that is when I first knew I had a problem.
I thought about washing it with multiple color catchers and hoping for the best, but instead, I have decided not to wash it at all and hope for the best over time. It is intended as a wall hanging so washing isn't really necessary. That particular fabric is in five or six of the blocks. This is the first time I have ever had a problem with any fabric bleeding like this, so I consider myself fortunate on that count.

Look how the white thread shines on the red backing.

Here it is a little closer. There are plenty of imperfections but overall, I am happy with the texture of the quilting. The entire quilt was done in free motion and some of the straight lines are a bit shaky. It was great practice.
I was determined to use a feather pattern of some kind in the sashing. Most of the patterns I saw were a little too formal until I saw this paisley feather design by Angela Walters. She has some great You Tube videos and I must have watched this one ten times before giving it a try. Originally, the feathers were going to go in the vertical space, too, but once the horizontal rows were quilted, it was going to be too busy to do more of those. The evenly spaced vertical lines provide a good contrast to the feathers. Each of the pieced blocks has minimal quilting.

The shadows fell just right while the quilting was in progress. The design stands out nicely in this picture.

I have been wanting to use a striped binding forever. This quilt will be on display during the winter/holiday season and I like the hint of candy cane it adds to the quilt.

The backyard clothes line has become my go to place for quilt photographs these days. My helpers only get called into action for the bigger projects. This quilt finishes at 48 inches x 57 inches.

I live in the south, where it rarely snows, and I've always loved pictures of cardinals in the snow. Now I have my own version, with or without real snow.