
This post contains affiliate links.

This is what happens when you get into the Craftsy class you are taking. I finished all the lessons for Lori Kennedy's Divide and Conquer free motion quilting class and could not wait to make my first project to practice all that I had learned.

It's a great class and clicking on the class icon will take you to all the information for it. This class helped me in a lot of ways, but specifically, it helped me with designing the quilting for any given project.

The first step is to plan. I'm not good at this step. I tend to want to just dive right in and hope for the best. But this time I thought it through. One of the things I learned (again) is that for the quilting to really stand out, the fabric needs to be solid. So I started with a Moda Bella solid in Porcelain for the main fabric and framed it with some yummy scraps of Christmas fabric from my stash.

I decided to go for a framed composition and scoured Lori's blog for fitting motifs. The class offers lots and lots of motifs. I chose the grid pop motif from the class and then added Christmas motifs from Lori's blog for my project. The center motif will be a poinsettia, then grid pop, pretty packages, and snowflakes.

The threads were selected to complement the colors in the border fabric. One mistake I tend to make in projects like this is to overdo with too many motifs or too many different thread colors. I'm trying to be a tiny bit more conservative with that, so deciding which colors to use and where to use them took a bit of time. As the project progressed, I only used two of the threads pictured: the cream Aurifil 50 weight cotton thread and the 30 weight Sulky Blendable in red, gold, and green.
The first motif to quilt was the gorgeous poinsettia in the center. Here is a link to Lori's tutorial for the poinsettia motif.

I doodled it first to get a feel for the motions of sewing it. The hardest part of this motif for me is the curly cues around the outside. I had to go really slowly drawing them so that is a good heads up to slow down when stitching them, too. The poinsettia petals became a little challenging on the third round. I tended to want to make them much bigger when doodling them. I had to erase and try again with that part. The only other adjustment I want to make is with the veins in the petals. I like the pointy tip rather than the squared off tip for those. With my new found doodling knowledge, it was time to try stitching it.
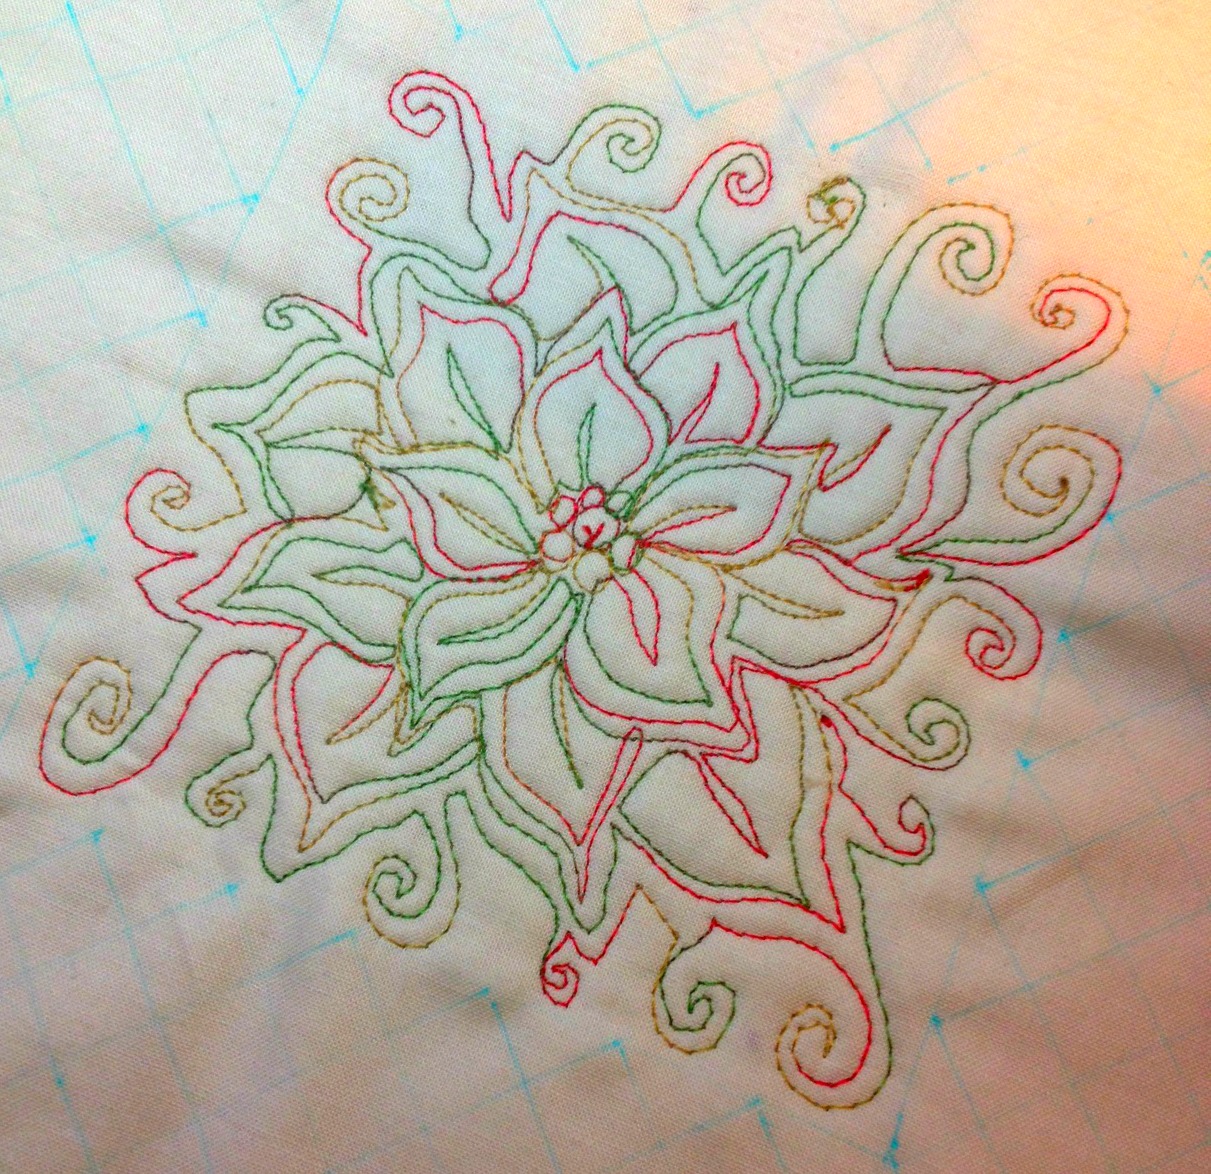
There were a few thread breaking issues, probably because I was going extra slow for some parts. It is far from perfect but very pretty for a first try. I love how this motif turned out. It is so fitting for the holidays.

The second round of the composition is the grid pop. This is the grid. Grid pop is not for the faint of heart. There is a lot of stitching in this motif. It was a bit tedious to stitch, especially at a half inch scale. I used matching thread so that the texture would be the focus. The grid is drawn in blue water soluble pen. Rather than stay perfectly inside the frame, the goal was for each line to extend to the poinsettia to fill the space. That mostly worked.

The texture of grid pop is worth the effort. It frames the poinsettias perfectly.

The third round is Pretty Packages. Here is the link to Pretty Packages. This motif was really easy and fast to stitch.

The last round is snowflakes. I had this pretty icy blue thread selected for the snowflakes. I thought it would look nice with the border fabric. However, it was a wool thread, and after a few attempts at threading my machine needle with it, I gave up. The matching thread works just fine for this motif. Here is the link to Snowflakes.

The border fabric is stitched with a simple free motion wavy line.

I finished it with an envelope back so that it could be used as either a small quilt on a table or wall, or as a pillow cover. This project is going to be a gift so I like that there are choices for how to use it.

Lori Kennedy is a wonderful instructor. Now that I am through the class, I have already gone back several times to look through the Ideas and Inspirations section at the end of each lesson. She shows some really pretty quilts and I plan to use many of her ideas as a starting point for my own quilts.
I can't wait to share more projects from this class with you.


Linking up with Fabric Tuesday at Quilt Story and Work in Progress Wednesday at Freshly Pieced. Also Finish It Up Friday with Crazy Mom Quilts.
What a lovely pillow! Your quilting is amazing; I love the poinsettia design, and the green-and-red presents really pop. Also, that border fabric from stash was a really good choice.
ReplyDeleteWhat a lovely pillow! Your quilting is amazing; I love the poinsettia design, and the green-and-red presents really pop. Also, that border fabric from stash was a really good choice.
ReplyDeleteThanks for the recommendation, you have done some lovely work.
ReplyDeleteTerrific excuse to explore and come away with a holiday treasure. I'm a chicken when it comes to thread.
ReplyDeleteYou apparently learned well....your pillow/quilt is lots of fun!!!
ReplyDelete