For March, I committed to finish this quilt top, and finish I did.
The top is from a class I taught some years back based on a Debbie Caffrey pattern. You can check out my commitment post
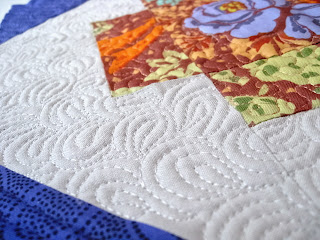
here. I found a quilt design on Pinterest to use for inspiration. Of course I didn't pin it and now can't find it. Sigh. That inspiration formed the basis for the four cream squares in the center. This quilt top is a little more formal than most that I quilt; there's even a bit of metallic in that border fabric. I decided that it deserved something a little more structured and formal.
From there, I mimicked the double loop design on all of the other cream areas.
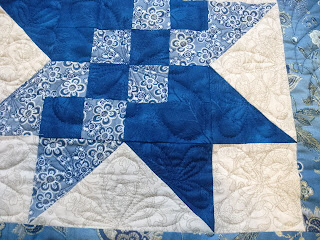
Other than the four cream squares in the center, I had no idea how this project would be quilted. It was simply a step at the time. Those double loops served me well throughout the quilt. They are featured in the center block.
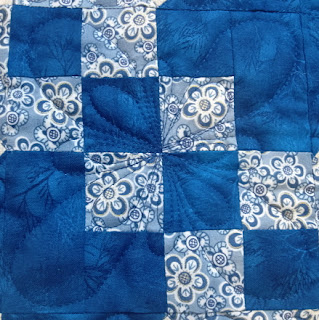
They are featured in a bigger scale on the 16-patch blocks.
All of the triangles that form the points on all of the blocks were quilted with a trio of double loops, too.
I had to take a break when it came time to quilt the border; I had no idea what to do. More double-loop flower thingies? Pebbles? Wavy lines? Nothing sounded right. So I walked away for a bit and then it hit me...feathers; the outer border needed feathers.
I had never quilted a feather before so I went back to Angela Walter's Quilting Negative Spaces class that I took on Craftsy. I just love that I can go back and watch those videos over and over again. One of the last lessons showed how to quilt this awesome peacock feather.
I was so anxious to get this finished that I didn't even practice before trying them on the quilt. I did draw some on paper to get familiar with the design and motion, but these feathers are the first I've ever sewn. They were FUN to sew and were a good way to finish this quilt.
The plan was for the feathers to extend over the entire border but when I was finished, there were little bare triangles on each corner of the quilt. Those blank spaces were just the right size for another double-loop flower.
The quilting is a bit easier to see from the back, which is made from a Robert Kaufman Fusion fabric.
It's hard to see here, but one of the challenges I faced was when to stop and start the quilting versus when to travel to the next location. I started out doing lots of starts and stops, but about half way through I switched to traveling. You can see a few lines on the back where I was sewing around the outside of the star points to get to the next location.
And, for me, one of the most important parts of this quilt...the thread.
That green spool was a 40 wt Aurifil in a dark blue. It was a new spool and was *just* *enough* *to* *finish* *the* *quilt*. Yeah, I was sweating it a bit there at the end. The other two spools are 50 wt and were used for the lighter areas.
This was a good finish, though a tough one. I wasn't sure it was going to get done, but once I got started it began to flow. I've already selected a project for April...I'm gonna go a little easier on myself next month.
Thank you, A Lovely Year of Finishes, for keeping me going strong.


