Sunday, September 28, 2014

Hot Pink Holiday Quilt


It all started with some small scraps of Michael Miller holiday fabric. Mittens, trees, and snowflakes in fun, bright colors.

They had been sitting on my cutting table for a couple of weeks while I pondered what to do with them. They needed to become a quilt. It was just a matter of finding a few friends to complement them and a nice background fabric.

I had been wanting to play with sixty degree triangles for a while and this project was a perfect way to indulge. It was fun putting together the color palette. There were lots of auditions.

Decisions were made. A layout developed and then sewing began. There was just over a yard of hot pink so that determined the final size of the quilt top.

The finished quilt top is the perfect size for a sweet and sassy little girl. As much as I wanted to go quilting crazy with all that negative space, I settled for a simple triangle grid mimicking the piecing.

The quilting and the piecing were all completed with Aurifil 50 weight cotton thread. I think it is time for me to start investing in more large spools of Aurifil. I seem to be going through the small ones at a quick pace.
It needed a little something more and my dear friend Holley suggested adding a single triangle in the hot pink negative space. I love the way it turned out. It adds just the right extra something to the quilt.

Most of the time, my quilt backs are created from my fabric stash but this quilt deserved something special so I bought a bigger piece of Michal Miller fabric for the back. The back is just as fun as the front. The binding is a black with white dots for thoughts of snow in this hot pink world.

This quilt finishes at 33 inches by 40 inches.

This quilt is for sale. Please visit my shop for more details.

Tuesday, September 23, 2014

A Scrappy Holiday Tree Quilt

A few weeks ago, I attended a reception for a quilt display at our local library. It was from one of our local guilds, Big Springs Quilt Guild. It was a fabulous display. This is a small guild of thirty or so ladies, but they make a big statement with their quilts. While I was there, the leader of the group, who is also my good friend Holley, asked me if I would teach at one of their meetings. I have not taught a quilt class in almost three years. My first reaction was...No. I don't have any idea what I would teach. Then, as I was looking at all of their work, I thought...I could teach a project. It doesn't necessarily have to be a skill. So I said YES, because really, there is nothing I wouldn't do for Holley.
As is usually the case these days, it all started with a picture I saw on Pinterest. The original source for this project can be found here in the Moda Bake Shop. I changed up the finished size and the design of the background but the original is the inspiration that started it all. There was also a pile of Christmas scraps on my sewing table that kept staring at me. The background from the inspiration picture was a single piece of fabric, and that was my intention too. Until I realized that I didn't have a big enough piece of fabric to do that. I really love the checkerboard background and it happened completely by happy accident.
This project is perfect for practicing matching corners and making half square triangles. I will talk about different ways to make half square triangles as part of the class. So a skill lesson developed after all. Decided to go subtle with the star on top by quilting it rather than piecing or appliqueing it.
The trunk in the border was a late addition when one of my sons commented that the trunk was missing. I thought about adding another row to the quilt top, but I like how it just sits right in the border. The quilting is all done with a walking foot. Diagonals for the tree and a grid for the background.
I used a red on the back. I also did the binding all by machine. I'm usually a hand stitch kind of girl for binding. With a little more practice, binding by machine might grow on me. It is definitely much faster.

This sample will be delivered to Holley next week so she can share it with the girls at their October meeting. Class is planned for the first Saturday in November. I am really excited to be teaching again. I need to get the supply list completed so that it can be delivered next week as well.
While this project was made using Christmas fabric, it could easily be adapted to other color schemes for seasonal trees. It finishes at 24" x 30" and as a bonus, I'll be sharing with the class how to make it bigger (all the way up to a king size quilt) and smaller (using tiny one inch squares).

Sunday, September 21, 2014

Garden Fence Quilt Beginnings

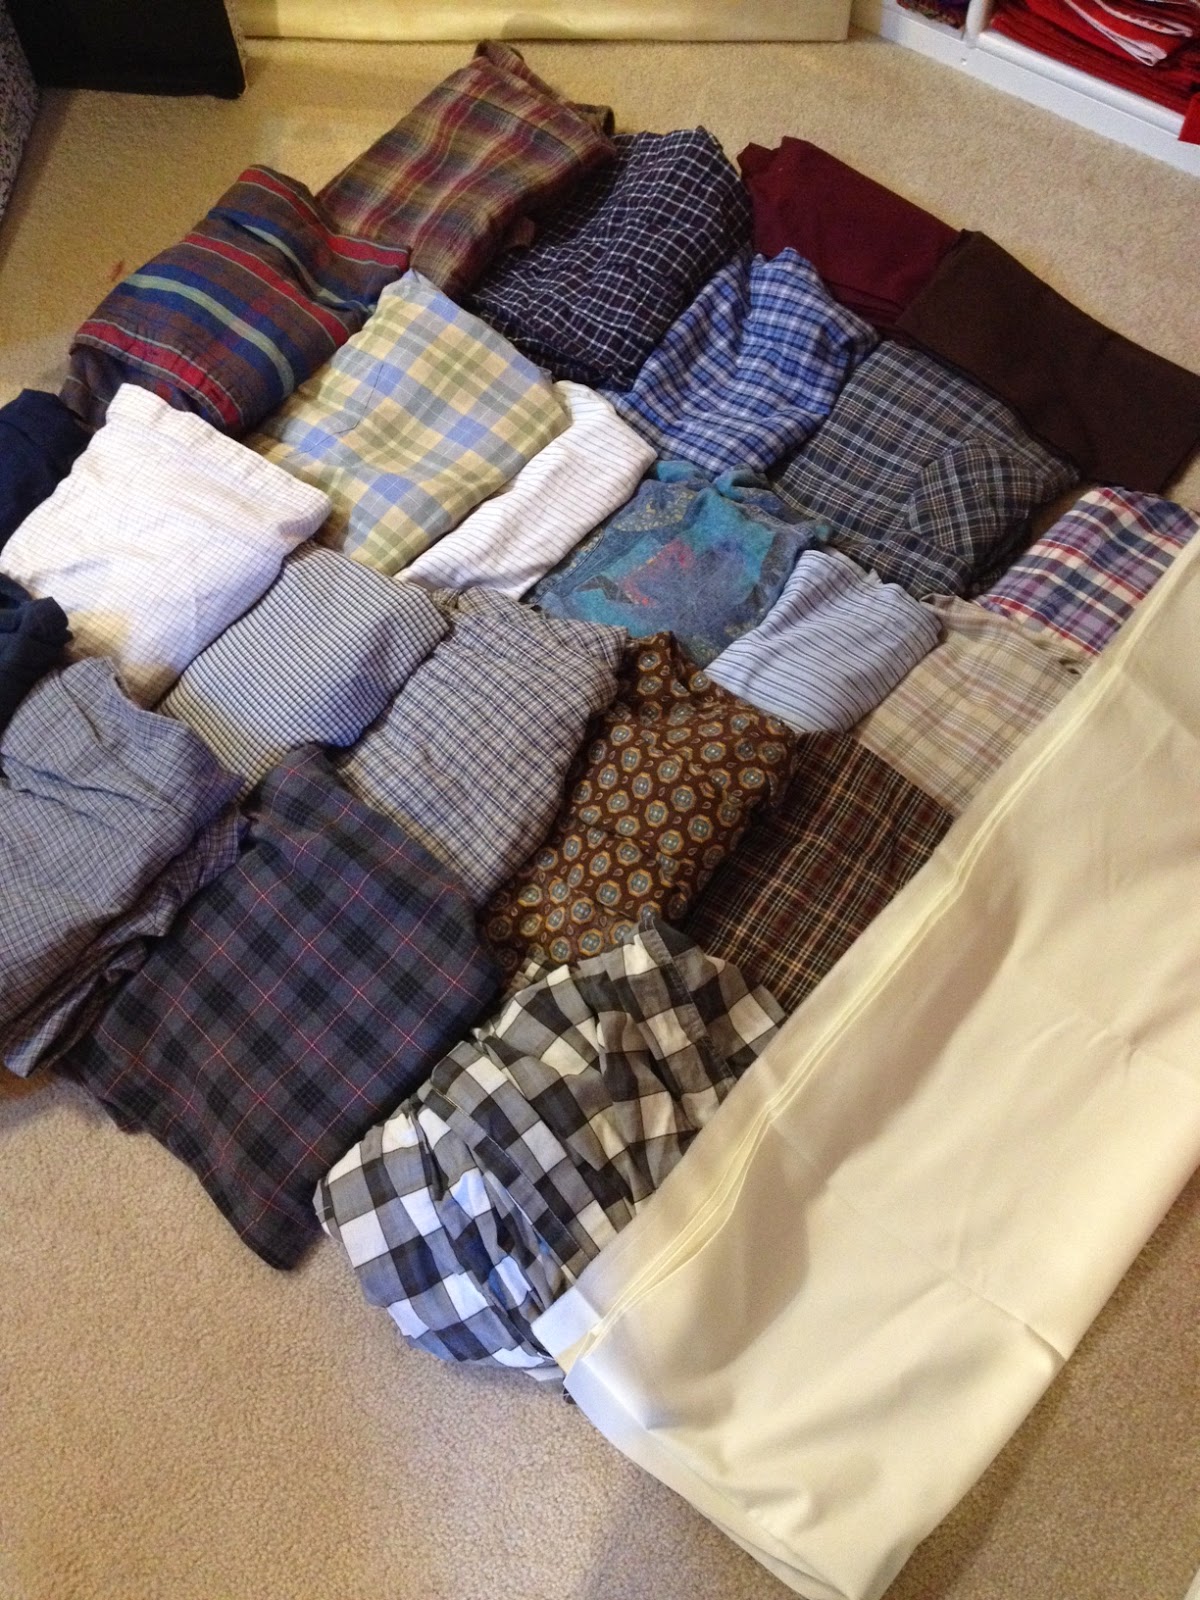
Once the design decision was made, I couldn't wait to get started on this quilt. This is the first quilt I have made using clothing, so the first step was to figure out the best way to cut the clothing. Should I start with the sleeve, the back, the front? I decided that no one part was better than the other, though I would watch out for worn spots, like elbows, in cutting. It was a little hard making that first cut, but once I was in, I was all in.

I went for the front panel on the shirts and used scissors to cut right up to any seams so I would have maximum fabric that would iron nice and flat. Since this was still in the figuring out stage, I chose six pieces of clothing for making test blocks. It was quite therapeutic to think about the man who wore these clothes, even though I never met him. When did he wear this one? What stories could this shirt tell?
Here's how the cutting went. Nine of the pieces in the picture are cut to size and ready to become part of the quilt. There are some scraps and some pieces big enough to set aside for more blocks later. I'm filling a jar with buttons from the shirts and may make a nice stack of pockets just in case a future project develops with them.
Here are the first six blocks, ready to be sewn. Lots of plaids in these clothes. The thing to remember with this design is that it is an overall look. I have to remind myself of that when I get too matchy matchy with the individual blocks.

The solid fabric is a Moda Bella solid in Porcelain. It is not too white and not too cream and coordinates well with many of the clothing fabrics. I think this quilt is off to a great start. The blocks finish at ten inches and there will be a narrow sashing between them. Can't wait to watch this quilt grow. Time to cut some more blocks!

Thursday, September 18, 2014

A Memory Quilt: Deciding on a Design

I recently took on a commission quilt. It is a memory quilt, made from the clothes of a much loved father. His daughter is an avid photographer and her father was an avid gardener.

Photograph by Cheryl Cornwell

She wanted his clothes to become a quilt as a gift for her mom.

I love choosing designs, but struggle when it is for someone else. She and I played the like/don't like game by email. I would send a few pictures from my Pinterest boards and she would let me know if she liked them. I thought that would narrow it down quickly. And it did help. I learned that she preferred a repeating block design rather than a big overall statement. She wanted traditional rather than modern.

We met one afternoon and she sent me home with this trunk full of clothing.


There was one design that she said she loved right away, and it is one I had made before. But to my eye, it had more of a contemporary feel to it. We looked a little more and then she just said it...I trust you to choose a good design for this.

At first, I was determined to be super traditional and had shown her a pinwheel block which she liked and remembered from quilts growing up. But I was not feeling very settled about it.


I went back and looked again at the first design she liked. I did some further searching to see if I could find other finished quilts in that design. And I did, along with a name for the block. Garden Fence. That is when I knew this was the one I would do. I drew out the block and cutting instructions right away.


I know very little about her father, but I do know that he loved his garden. And now I know that this will be the perfect quilt for her mom and the whole family to remember him by.

Photograph by Cheryl Cornwell
"My dad. Never a Boy Scout, but always prepared, nonetheless. He strategically placed three old rusted metal chairs 10 yards apart, from his garden to the back door, in case he needed to sit a spell while going back and forth. Think I'll sit a spell myself."
I am looking forward to getting started on this project. It is a special privilege to be able to play a small part in preserving these memories.

Friday, September 5, 2014

Zig Zag Teacher Quilt


Another collaborative quilt finish with my favorite daughter. She chose the pattern, the fabric, and did the piecing for the top. I assembled the back, quilted and bound it. We make a pretty awesome team.


A few years ago quilting was the annoying step for me. Couldn't those layers just magically stay together? All of the quilting I did was purely for utility. Wow, how I have changed. I think I've gone to the opposite extreme. I want to add lots and lots of quilting to every quilt I see. It's amazing what a little bit of instruction and a whole lot of practice can do to change one's perspective.


I love how the quilting looks from the back of this quilt. I had planned a really busy back but changed my mind once I figured out how I wanted to quilt it.


Straight lines on the colors and pebbles on the neutrals. I used the same color thread on the bobbin as on the top so on the back the straight line stripes have color. This picture isn't too good with the dim inside light but I think it gives you an idea of how it looks on the back.


The binding is the same fabric as the blue solid.


This quilt will make its way to its new home some time in October when Erica next comes home to visit. It is going to one of the teachers that had a big impact on Erica's first year as a teacher last year.


Next up...maybe a holiday project. Happened to rummage through my Christmas fabric recently. We shall see what happens next.
Related Posts Plugin for WordPress, Blogger...