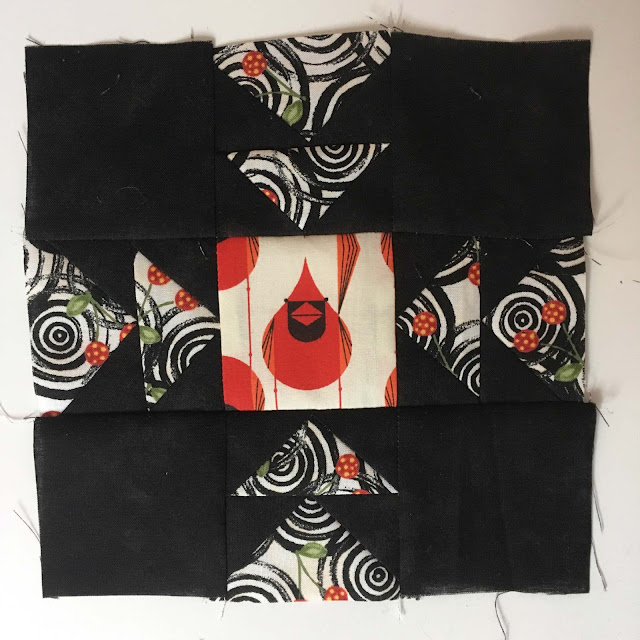
Why make one mini quilt when you can make six? It was fun adapting my
Shadow Block Mini Quilt tutorial to make this set of colorful place mats for my kitchen. Janice, from
Color, Creating and Quilting, and Jen, from
A Dream and a Stitch hosted an awesome quilt along that wraps up today. Of course I had to join right in. But before I dive into the making of these, here are all the fun gals who participated in the quilt along. Click on over to their blogs to check out their Shadow Block mini quilt making:
At first, I planned to make just one mini quilt, using the tutorial exactly as it was written, but I'm not one to make the same project over and over, so I changed it up just a little so that it could become something useful and beautiful. For color, I decided to lean on trusty ROY G BIV. Do you remember learning the colors of the rainbow this way? And, since the original mini quilt was made using fabrics from Kaffe Fassett and friends, I pulled out my Kaffe stash and lined them up.
Choosing the fabric is what takes the most time for me. Cutting the squares took no time at all once I knew where this project was going.
I made one change to the assembly process from the original tutorial. The original mini quilt has twenty blocks. Each place mat has twelve blocks, but there are six place mats, which means there are 72 total blocks for this project. That was going to be a whole lot of tiny squares and rectangles to piece.
For the shadow fabric, I cut a 2 1/2 inch strip and a 3 inch strip. From the background, I cut two 1 inch strips. A background strip is stitched to the shadow strip, then 1 1/2 inch segments are cut to go on the two sides of each focus square. It went much faster this way.
It was fun to watch the design wall evolve with finished tops. And I am not great at secret projects so it was quite the challenge not to share all the progress as it was happening. The border on the right side is wider than the others, to add a little interest and make a special place to put your fork.
Each one is quilted differently. The red mini was done exactly as the quilting on the tutorial.
Orange was quilted with free motion circles in the shadow and a trio of straight lines on each sashing strip. The center line of each trio is in a darker thread to match the shadow. This was one of those happy accidents. I forgot to change the thread color after quilting the circles and just decided to go with it rather than having to pull out the trusty seam ripper.
Yellow is quilted with free motion circles in the sashing, and long lines of quilting in the shadow. My goal for quilting when it isn't an all over design is to quilt the shadow heavily and the background a little less so that the focus blocks, which have no quilting, pop up off the quilt, emphasizing the dimension and shadow.
Green. This one is my favorite. This is the first one where I ignored the blocks and went with an all over design. I love the big spiral in a variegated thread.
The quilting on the blue mini was done using a free motion loopy stitch in the sashing. It is hard to see the stitching on this one but it is not hard to see those lumps near the blocks. The pressed seam allowance kept bumping up against my free motion foot instead of going under it. I have not had that happen before. It was a little frustrating, but I persevered. The shadow is stitched with a decorative stitch on my Janome. That part was fun and reminded me that I need to experiment with some of those decorative stitches more often.
For the violet mini, I went with a wavy cross hatch. I didn't want the green mini to be the only one with an all over design, and, by this last one, I was ready to be finished, so I confess that the easy quilting on this one was intentional.
Here they are from the back, doing their best to pay respect for all the ROY G BIV going on on the front. They had to be cute enough to turn over, just in case there are any spills on the front. Each place mat finishes at 13 inches by 17 inches.
Don't they look fantastic on the kitchen table?! Thanks so much Janice and Jen for organizing this quilt along and encouraging me to revisit the Shadow Block Mini Quilt tutorial. I cannot wait to see what everyone else has made.


