

Recently, I started a quilt that had lots of raw edge fusible applique (see that work in progress here). At first, I thought that the scraps from that project would just go in the trash. They couldn't go back in my regular stash since there was sticky fusible on the back side of each piece. But as the scraps piled up, I decided there must be something I could do with the leftovers. And that's how this project started.

I had seen a sign on Pinterest that said, "Faith Family Friends". I liked the sentiment and the reminder of what is important in life. The project was added to my wish list of new projects for 2013. Using these scraps for this project was the perfect combination of making something new out of something that *almost* went in the trash.
The first step was to decide on a font. My daughter, Erica, helped me with that, since she has a "thing" about fonts and collects copyright free fonts. This font is called "return to sender". Do fonts get named by the same folks that name paint colors? We blew it up to a good size, printed it, and then traced the letters onto two-sided fusible, which, as a reminder, should always be traced in reverse. Not that I forgot that...again...ahem.
Using a water soluble marker, a rectangle was drawn on the background to frame the letters. A second rectangle was drawn two-inches outside the first one. This formed a boundary, or frame, for the scraps.

I used a method often called "snippets". The paper from the fusible is peeled off the back of the fabric scraps and small pieces are cut at random and scattered within the borders of the frame.

I tried to relax and let the pieces fall where they may, but there was some manipulation needed to make them line up around the borders correctly. I did not iron the letters down until after the frame was complete.

Once the frame was filled with fabric, the whole piece went to the ironing board to get it all fused down.

Here's a close up of all those little scraps. It makes it look like a whole new fabric.

To quilt this, I sewed around the letters using a straight stitch with matching thread. Then, with cream thread, I outlined the frame with a quarter-inch inside and outside the frame. For the last quilting step, with a variegated thread, I used a free motion back and forth stitch, covering all of the frame, just to make sure none of those scraps decide to loosen up and escape over time.
When I first showed these to my family, the first comment was, "Don't let anyone see the back!".

Which means that I absolutely have to show you. These are some Martha Negley prints that were in my stash. I knew I wasn't likely to use them in a project, and they do make cute backs...even if they are sideways. Who's gonna know? The back will be up against the wall, so I'm okay with crazy backs...and crazy family members who worry about such things.
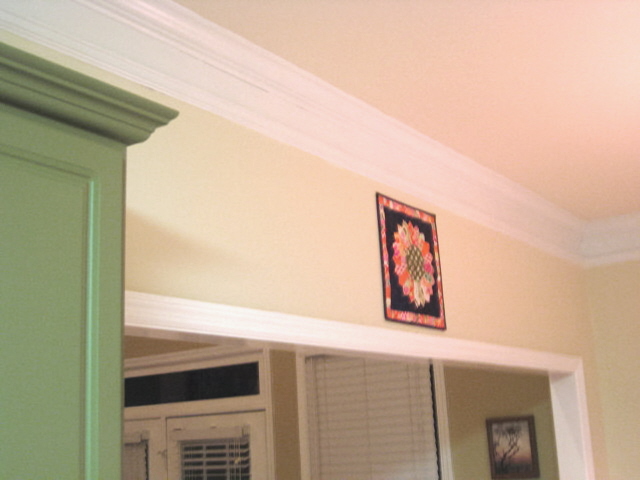
The wall these will go on has always been kind of bare, with just a small project or clock hanging in its center. It was screaming for something more.

And now, this wall makes a great statement. This was such a fun project to make, and I'm happy for another finish for the year.


