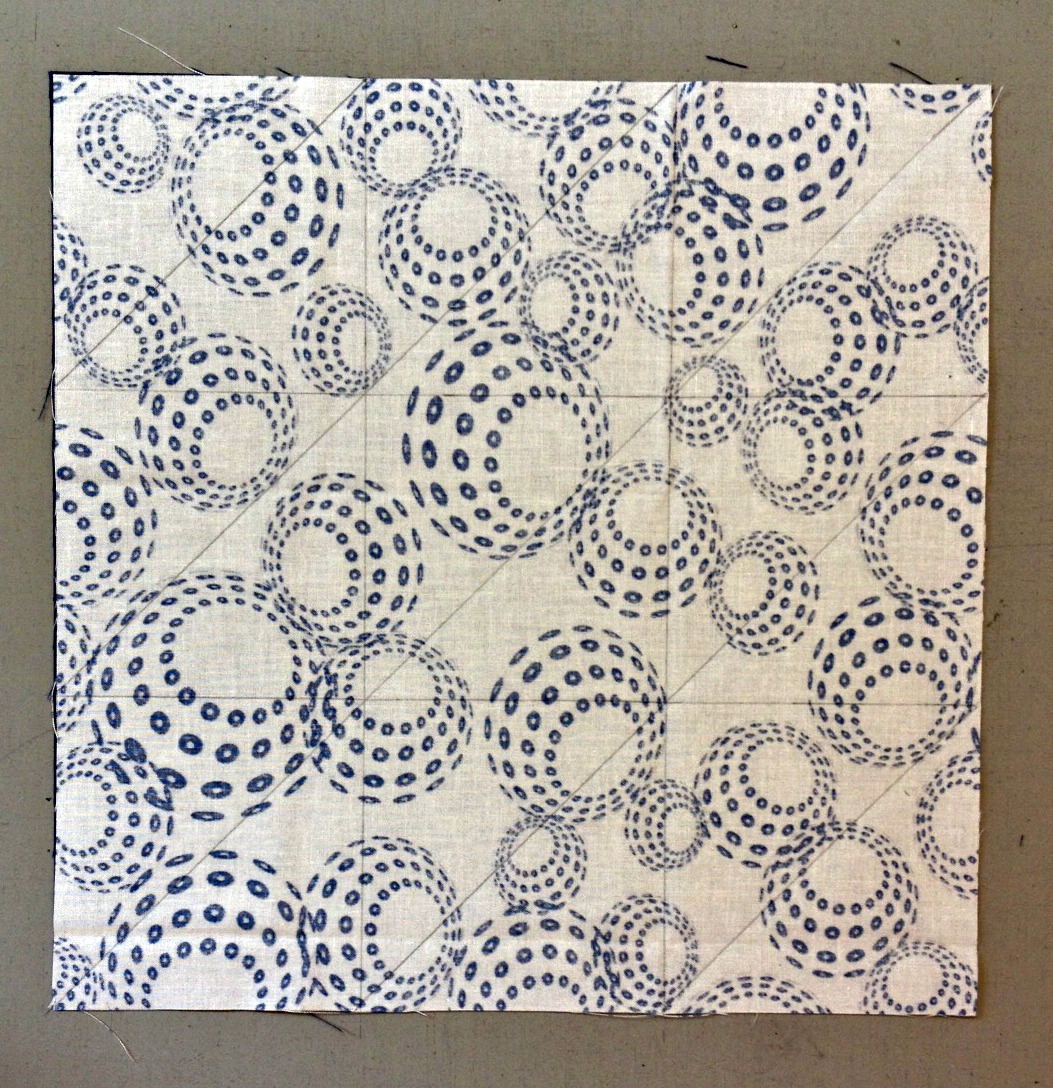
A while back, I accumulated as many methods for creating half square triangles as I could find. They were used in a class that required LOTS of half square triangles. Each student received a nice hand out with the instructions and math for all the methods, but I had never fully tested each one. So, it was time to officially test and confirm each one to validate the instructions and accuracy. The goal for each method is to yield 3" finished half square triangles, both for consistency from method to method, and so all of the half square triangles created could be used together in a project.
The seven methods are:
- One at a time
- Two at a time
- Four at a time
- Eight at a time
- Eighteen at a time
- A strip method
- Another strip method
As a disclaimer, I am fairly conservative when I sew, which means I am
more likely to size things up a little more than necessary just to give
myself enough margin of error, and also so I can accurately square up
each unit once it is created.
Method 1 - One at a time
Use this method when you need only one half square triangle, or your desire is for every half square triangle to be unique.
Cut triangles from two fabrics. I cut a square from each fabric and then cut it on the diagonal to create my triangles. If you cut squares first, they should be one inch bigger than the finished size of the half square triangle. So, for three inch finished units, cut 4" squares.
Place the triangles right sides together and stitch a quarter inch seam on the long diagonal side. Be careful not to distort your pieces. The diagonal cut leaves a bias edge that is more fragile than cuts made square with the grain of the fabric. Press toward the dark fabric.
Once the unit is stitched and pressed, square it up. Use a ruler with a 45 degree diagonal line. Make sure this line is on the seam line. Then check to make sure that the unit is bigger than 3 1/2 inches. If it is not, your seam allowance needs to be smaller, so you will need to start again. Keep going if your unit is 3 1/2 inches or bigger. Hold the ruler in place, then trim two of the sides. Rotate your cutting mat and line up the ruler on the 3 1/2 inch line around the square and the diagonal line on the seam. Trim the other two sides and your half square triangle will be ready to use.
Calculation review: Finished half square triangle size + 1 = Cut square size.
3 + 1 = 4 inches
Method 2 - Two at a time
This is the most common method for making half square triangles.
Cut two squares. The official calculation for determining your square size is to add 7/8 inch to the finished size of your half square triangle to determine the square size to cut. I always add 1 inch just to be safe. For our 3 inch finished units, cut two 4 inch squares.
Lay the light square on top of the dark square with right sides together. Use a ruler to draw a diagonal line on the wrong side of the light fabric. Two products I love when making half square triangles: Creative Grids rulers and PaperMate Sharpwriter #2 lead pencils. Both the lead and erasers are great on these pencils. Neither company paid me to endorse their products. I am just sharing some of my favorite things with you.
Here is how the line should look.
After drawing a diagonal line, stitch a quarter inch seam along each side of the line. They are hard to see, but there are stitching lines there.
Cut on the drawn line.
Press each unit open, pressing toward the dark fabric, square up your units, and you will have two half square triangles ready to use.
Calculation review:
Finished half square triangle size + 1 = Cut square size.
3 + 1 = 4 inches
Method 3 - Four at a time
This is the only method that required more than one try. The first test yielded units that were too small. The instructions said to use the finished size for calculating. For the second try, I used unfinished size and the results were much better. The calculations for this one are trickier, using both decimals AND division. Just use a calculator and go with it. This time use the unfinished half square triangle size and divide it by 0.64. Round that up to the next whole number. For finished 3 inch half square triangles, cut 6 inch squares.
Place the squares right sides together and stitch a quarter inch seam around all of the outer edges. It is really hard to see the stitching lines but I promise they are there.
Cut across the diagonal in both directions.
Press each seam to the dark fabric, square them up, and four half square triangles are ready to use.
Calculation review:
Unfinished half square triangle size / 0.64, then round up to the next whole number.
3.5 / 0.64 = 5.46875, round up to 6 inches.
Method 4 - Eight at a time
Again, start with two squares. To determine the square size, add 7/8 inch to the finished half square triangle size and multiply the answer by 2. Round up to the next whole number. For finished 3 inch half square triangles, cut 8 inch squares.
Place the squares right sides together. Draw diagonal lines in both direction on the wrong side of the light square.
Stitch on either side of the diagonal lines. This is much easier to see from the dark side.
Cut the square in half horizontally and vertically as well as on each of the drawn lines. Since these are eight inch squares, use your ruler to measure four inches to determine your cutting lines.
This is the result once all the lines have been cut.
Press each seam toward the dark fabric, square it up, and eight half square triangle units will be ready to use.
Calculation review:
(Finished half square triangle size + 7/8 inch) x 2, then round up.
(3 + 7/8) x 2 = 7.75. Round up to 8 inches for your cut square size.
Method 5 - Eighteen at a time.
This is my favorite method. Many blocks that are made completely of half square triangles use a four by four setting, which means you need 16 half square triangles to make the block. I can see using this method with a Layer Cake (collection of fabric sold in packs of 10 inch squares) and making a cool sampler of half square triangle blocks.
This is the last method that will start with two squares. To determine the size to cut your squares, multiply the finished half square triangle size by 3.6, then round up to the nearest number divisible by 3. We will use 12 inch squares.
Place the squares right sides together. Draw two horizontal and two vertical lines on the wrong side of the light square. Since this is a 12 inch square, the lines will be at the 4 inch and 8 inch marks. This is why the block size needed to be divisible by three. Once these lines are drawn, it will look like a tic tac toe board. Now, draw diagonal lines in one direction only. There will be four diagonal lines.
Stitch a quarter inch on either side of the diagonal lines only. Here is how the stitching will look.
Cut on all of the drawn lines...horizontal, vertical, and diagonal.
Press each seam toward the dark fabric, square up each block, and 18 half square triangles will be ready to use.
That is a lot of half square triangles. I find this method very fast when you need lots of half square triangles.
Calculation review:
Finished half square triangle size x 3.6, then round up to the nearest whole number divisible by three.
3 x 3.6 = 10.8, round up to 12 inches for the beginning square size
Method 6 - A strip method
This is my least favorite method. It wastes too much fabric. There is no specific calculation for this one, so I used the finished half square triangle size for the width of each strip. Cut two strips, one from the light and one from the dark fabric.
Sew them right sides together along one of the long sides using a quarter inch seam. Press open, with the seam toward the dark fabric. Use a ruler to cut the squares, with the point of the squares on the seam line.
Each square needs to be 3 1/2 inches.
The good news about this method is that the blocks are perfectly cut. No extra squaring up to do.
Calculation review:
No special calculation required. Use strips the same width as the finished half square triangles.
Method 7 - Another strip method
Again, for this method, the strips are cut the width of the finished half square triangles, in this case, 3 inch strips.
Place the strips right sides together and stitch a quarter inch seam on BOTH long sides.
This method also requires a special ruler, the Quilt in a Day 6 1/2 inch triangle square up ruler. I like this method, and I really like this ruler. Place the line with the measurement of your unfinished half square triangle on the stitching line. Trim around both sides of the ruler.
Rotate the ruler to line up with the seam line and cut edge and cut again. Press each unit open with the seam allowance going toward the dark fabric. This is another method that comes out perfect. No need for any additional squaring up. This method could come in handing when working with a jelly roll (fabric collection cut into 2 1/2 inch strips).
There are other methods available, such as triangles on a roll, that are not included here. Which one is your favorite? Are there other methods you would like to share?
This adventure yielded 38 half square triangles. I picked a couple of my favorite layouts to see how they would look.
While I was arranging these I thought about a quilt that featured each and every layout on the sample page in just two colors. Then I did a little bit of math. There are 72 blocks on the page. Each block has 16 half square triangles. That is 1,152 half square triangles. That is a lot of triangles.
Other posts about triangles:
Just Sewing - Potholders
Hot Pink Holiday Quilt
Scrappy Holiday Tree Quilt