You have decided that you want to make a quilt. That's great! Now what? Where should you begin? It is so easy to get overwhelmed by all the resources out there for quilt making. Choosing the right tools is one of the most important decisions you will make as a new quilter. This list certainly doesn't encompass all the tools you need to get started but will definitely help you get a positive start to your quilt making adventure.
1. Sewing Machine
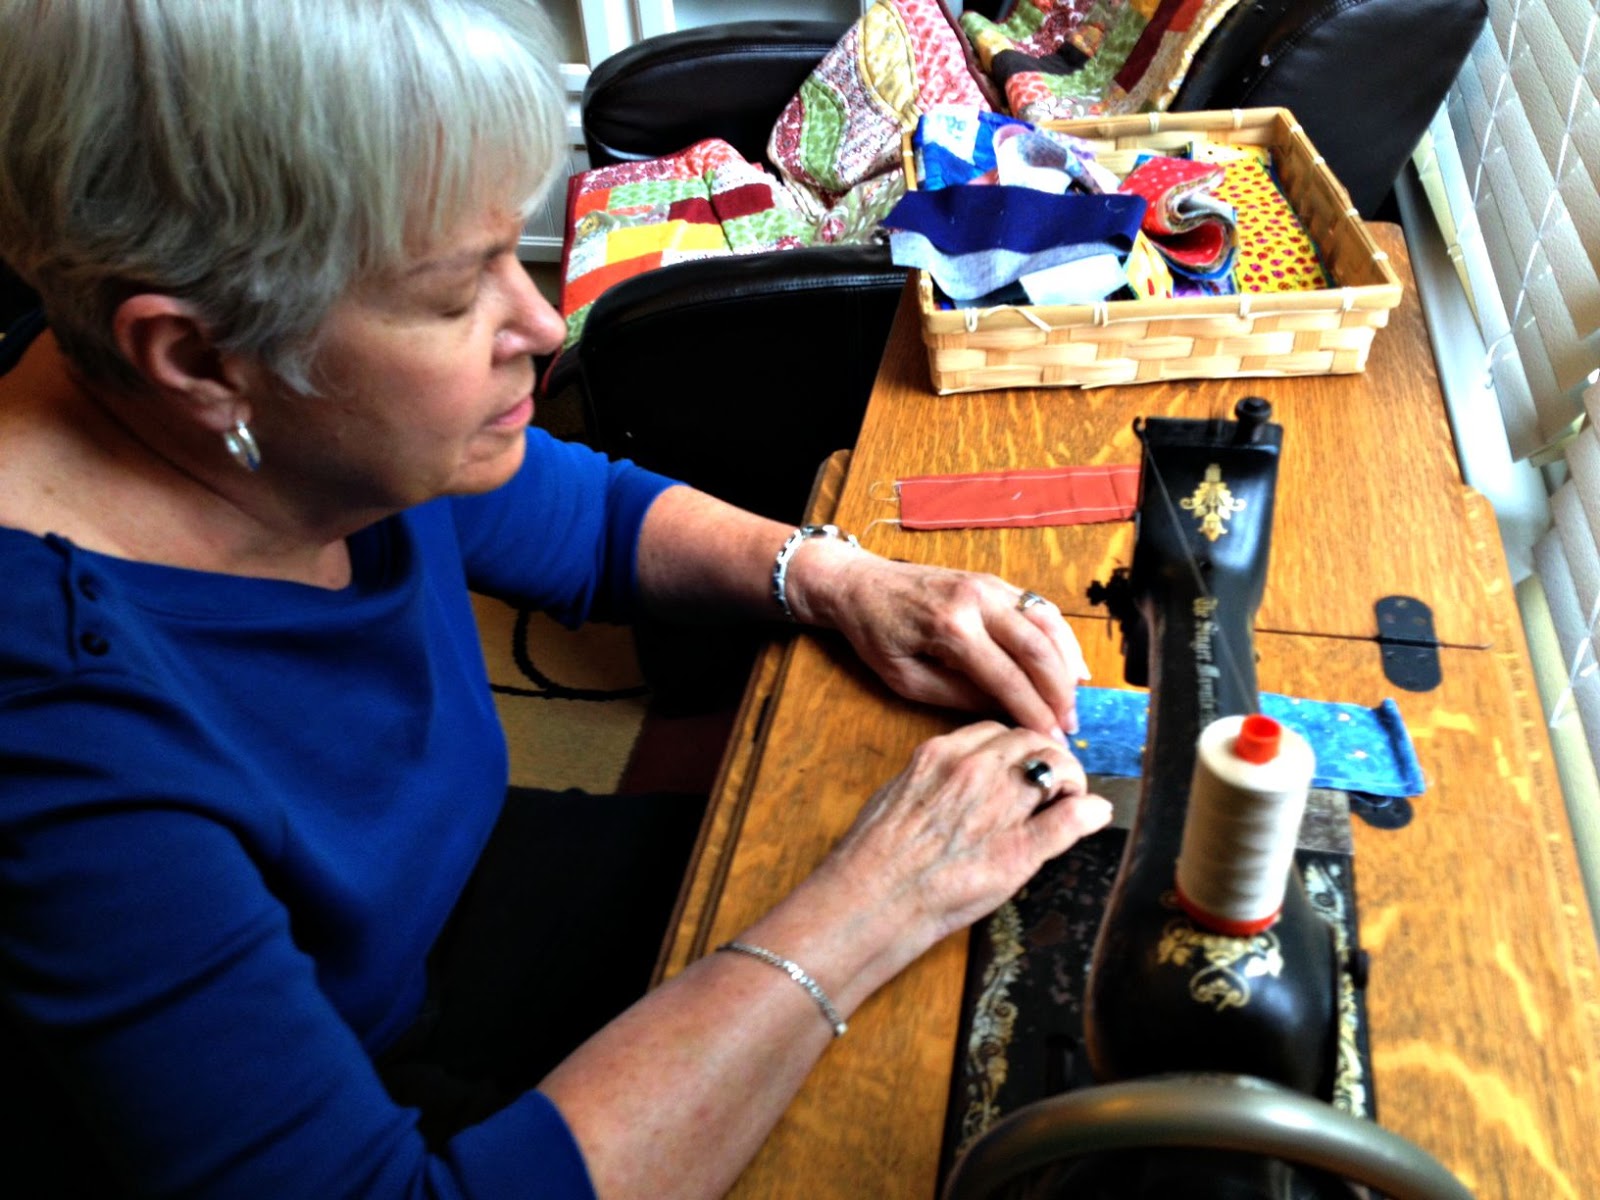
The sewing machine can be the thing that makes or breaks your love of quilt making. There is no greater quilt making frustration than bad tension, breaking threads, or locked up machines. There is no greater quilting bliss than a machine that operates smoothly and consistently every time you use it.
What features should you consider?
For piecing a quilt
top, a good straight stitch is all that is required. Other features to
look for that will allow you to quilt the quilt and expand your quilt
making beyond basic piecing include:
- zig zag stitch for machine applique
- ability to keep the needle in either the up or down position
- ability to cover or lower the feed dogs
- additional feet - walking foot and free motion or darning foot
There
are many more features available. Be sure and do lots of reading and
research to determine which extras are important to you.
How will you know which machine is for you?
I highly recommend you purchase a sewing machine from a dealer rather
than straight off the shelf. A dealer can answer questions after
purchase, help you maintain your machine properly, and be a resource for
repairs should you ever need them. Ask
for a demo then ask for a test drive. Sitting down and using a machine,
no matter how skilled or not you are, will help you know your comfort
level with the machine. It is sort of like test driving a car. It might
be a great car but if the blind spot is in just the wrong place, then it
is not the car for you. Be sure and test drive more than one machine to help you compare features and comfort.
How much should you spend?
The most important thing to note with a sewing machine is that it is not necessary to spend a bazillion dollars on a super fancy sewing machine made especially for quilting. It is equally important to make sure you have a quality sewing machine, so you probably don't want to purchase the least expensive one either. A quality basic sewing machine generally costs in the $300-$400 range and should last a
long, long time, so it really is an investment in your sewing and
quilting future. Also, if you purchase your sewing machine from a sewing machine dealer, they
often have a program to allow trade ins if you decide quilting is your
thing and you want to upgrade to a nicer sewing machine.
2. Scissors
Fabric cutting scissors are critical to any sewer and quilt making falls into that category as well. My personal favorite is classic Gingher scissors (8-inch knife edge dressmakers shears). Mine were given to me as a gift when I graduated from high school. That was more than thirty years ago. If you have issues with hand strength there are several spring action options available. The most important thing with your scissors is that they are sharp and comfortable to use. Save these scissors for fabric cutting only. Using them for other purposes such as cutting paper will dull them in a hurry.
3. Cutting Mat
One of the keys to success for any quilter is accurate cutting. For quilting, these next three items are essential to success. A cutting mat protects your cutting surface and allows you to cut directly on it. There are many sizes of cutting mats, and for a new quilter, I recommend 18" x 24". It is big enough to hold fabric cut straight off the bolt and small enough to maneuver and move as needed as you are cutting fabric for your quilt. My experience has been primarily with Omnigrid mats, although there are several other quality brands available.
Once you have your cutting mat, the most important thing to remember is to store it flat and never leave it in your car. These mats warp fairly easily, especially with a little heat from staying inside your car, and once warped, there is no going back. The mat is ruined.
4. Ruler
Acrylic rulers are a must for accurate measuring. There are literally hundreds of sizes and shapes available and also several great brands. If you can only own one ruler, consider an 8 1/2" x 24 1/2" rectangle ruler. After that, add a few square rulers, then move on to other specialty rulers. There are four ruler sizes that I use 95% of the time in my quilt making. They are the 8 1/2" x 24 1/2" rectangle, the 9 1/2" square, the 15 1/2" square, and the 2 1/2" square. All other rulers are just gravy for me. My go to brand for rulers is Creative Grids. As mentioned earlier, there are several great brands. When shopping for rulers, make sure the numbers and markings are easy for you to read on both dark and light fabric. Many quilters like to stay brand consistent with their rulers so make sure you really like your ruler and seek out the same brand when adding to your ruler collection.
5. Rotary Cutter
This is another fantastic tool and a must for accurate cutting. A rotary cutter allows you to cut fabric in the same manner you slice your pizza. There are three primary sizes for rotary cutters, 60mm, 45mm, and 28mm. Your first, and primary rotary cutter should be 45mm. There are many good brands available. I have used both Olfa and Fiskars with success. The basic model of each of these works great but they offer a number of ergonomic, decorative, safety, and luxury models. This is something you want to hold to see how it fits in your hand. If you like piecing quilts, you will be spending a lot of time using your rotary cutter. It is also a good idea to buy extra blades for your cutter, too. It is a good practice to change out the blade every few projects. Working with a dull blade can be quite frustrating.
Note that all of the information in this post is purely my opinion from years of quilt making experience. There are no sponsored products or affiliate links included.
Experienced quilters, what else would you add to or change about this list?
Do you have additional questions or comments? I'd love to hear from you!