Showing posts with label blue. Show all posts

Thursday, December 29, 2016

Camera Quilt - A New Project For An Almost New Year


There was a plan. I was going to finish up my holiday sewing and then slow down with the quilt making for the first couple of months of the year. My sewing room is in an upstairs bonus room so I am away from the core activity of the household. I planned to sit by the fire and read and cross stitch and crochet and just relax and be more visible and available.


While this plan was being made other conversations happened and I found myself committed to five quilting projects for the upcoming year. I did not over commit at all. The first is not even on the horizon until late spring. But the seeds had been planted and I could not stop thinking about these new quilts just waiting to be born. The design for one had been set in my brain so why not pull some fabric for it?


And why not make a test block to see if the mind and the quilt were in alignment? After looking at this block for a day or two, I decided that more lens and less camera would look better, and I lengthened the rectangle on the top left just a little. I also narrowed the side and bottom borders to match the top border.


After all of that, I just had to make a few more blocks to get a better idea of how these blocks were going to look all together. The color of this quilt is supposed to come across as teal and in the beginning I was staying very true to that. It made for a boring quilt. There needed to be pops of other colors throughout to keep it interesting.


The camera lens is what brings life to these blocks. They are quite boring to me without it. At some point, I am going to have to do something about securing the lenses. They are fused on for now. I will probably zigzag or blanket stitch around them by machine. Still thinking about that.


I went back through my stash again to pull a wider range of colors. Then I grouped them. Each camera needs a body, lens, and background. I think I have about 50 fabric sets ready to go.


I am cutting them in groups, then piecing them three at a time. I can stitch together three blocks each morning before leaving for work.


As of this morning, I have 20 blocks pieced. The original plan was to do eight blocks across and ten blocks down, but I did not like eight across. Six seems better, so we will go with that for a while. Each block will finish at 10 inches x 7 1/2 inches.

What I thought was going to be a project for the spring, and one that was going to be worked on over time with a few blocks here and a few blocks there, seems to have taken on a life of its own. I'm okay with that. The new year isn't even here yet. There will be lots of time for fires and reading and relaxation, just as soon as I stitch up a few more camera blocks.

Monday, November 21, 2016

Four Blue Placemats - Interpreting A Gift Request


For Christmas, I'd like four placemats for the kitchen. Blue, please. That was the request from my mother-in-law a few weeks ago.


I had been eyeing this quilt in Kaffe Fassett's  book "Simple Shapes, Spectacular Quilts" for some time and this project would be a good one to try out a few blocks. First, I had to dig through my stash to determine where to get the best assortment of blues. For this project, the batiks had the best choices for darks and lights.


The original plan was to have two placemats with dark centers and two with light.


Then, I tried mixing up the darks and lights and liked this result much better. Since it is somewhat scrappy, using the same block layout will help the set be more cohesive. Each block will finish at twelve inches so a four inch wide strip was added to the right side of each block. The strips are four different solid blues.


Then it was time to decide on quilting thread. Of these options, I went with the small spool of Aurifil 50 weight thread. It worked best with the variety of fabrics in the placemats.


To make the placemats a little more feminine, I quilted a big flower with a spiral center on each of the main blocks.


For the solid strip on each placemat, I headed over to The Inbox Jaunt and found her Basic Leaf Tutorial to be the perfect design for filling that space.


I love seeing the thread contrast on the different blues.


The same four blues that made the side strips were used for the binding. It was another mix and match to bring unity to the project.


All different, yet all the same.


The backing for each placemat is this fun striped blue fabric. They can easily be turned over and used from the back side for a different look.

The quilting shows up nicely on the back, too.


My favorite part of this project is how it evolved. I had no idea what I would create when asked to make four blue placemats. Each step was a new discovery. And, every part of them was made from supplies I had on hand. That makes them even better.

Monday, August 15, 2016

Memory Quilt Fit for a Queen


A Queen size bed, that is. This quilt is a commission memory quilt made from the night gowns of a special mom. Up until now, the memory quilts I have made were mostly from men's shirts. This is the first one I have done with pastels and florals. It was a sweet change of pace.


This is also the largest quilt I have ever made. It measures 91" x 114" and fits very nicely on a queen bed.


We covered all seasons with the gowns. There is seersucker and cotton knit, satin, and soft flannel. It is quite heavy since many of the fabrics required interfacing to stabilize them for a quilt.


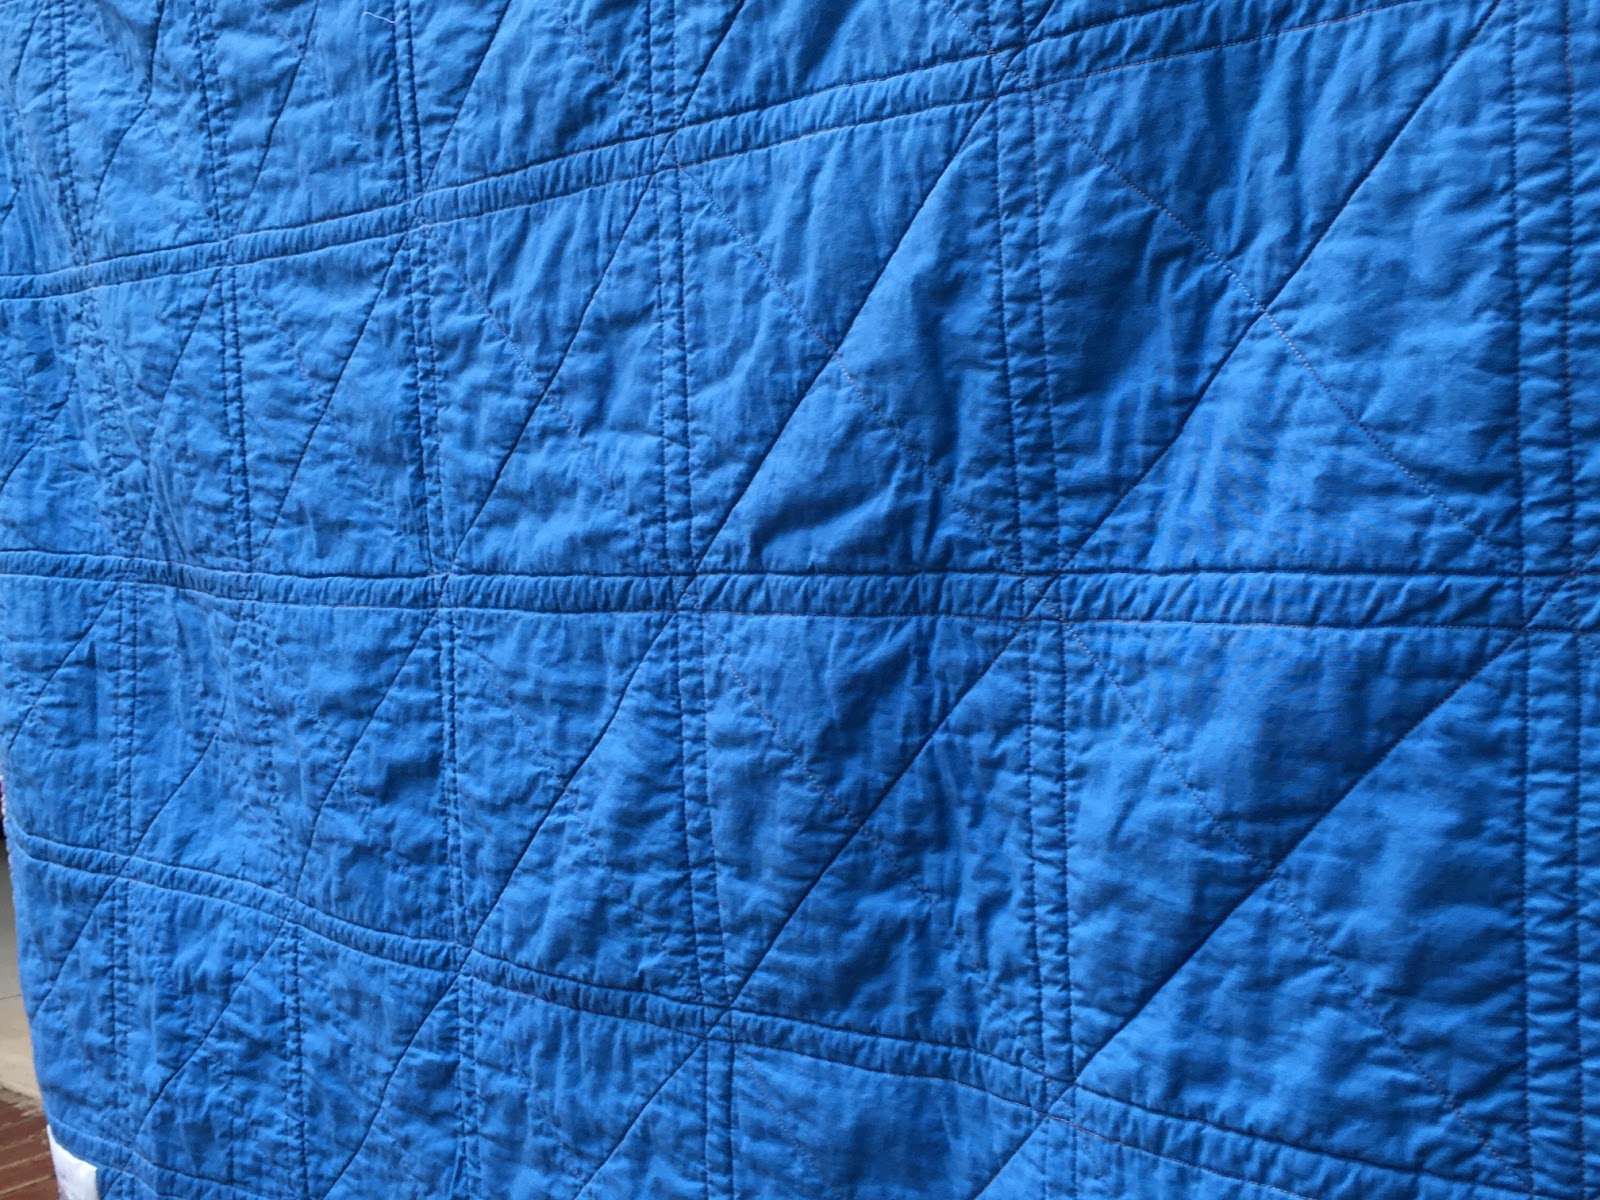
The quilting was kept very simple. I used a cream 50 weight Aurifil thread to stitch through each block horizontally and vertically. Then I switched to a matching blue thread, also 50 weight Aurifil, to stitch down the center of all the sashing. All the crinkles are because the quilt has already been washed and dried, ready to be displayed on a bed or wrapped around a loved one.


The binding is the same blue fabric as the sashing and setting triangles. It is a Kona cotton in the color Evening. Such an appropriate color name for a quilt made out of night gowns.


I delivered this quilt to its owner this week. It was fun to watch her taking it all in. She knew stories behind each of these precious gowns and it was very special for me to share in just a tiny part of that.

Friday, July 22, 2016

Memory Quilt to Remember a Special Mom


I am making another set of memory quilts, this time in memory of a special mom. This is the first one I have made using female clothing, and this one specifically uses pajamas.


While it takes extra effort to work with the different weights and textures, I love the result in the quilt. There is so much more to enjoy from a tactile point of view. Satin and flannel, cotton knit and lightweight seersucker. To sit and hold this quilt is a real treat to the fingertips.


The pattern is a familiar one from my memory quilt making experience. I like that it showcases bigger pieces of fabric from each garment. The solid blue is Kona Evening. It is not quite this bright in real life but it certainly does make all the feminine pastel fabrics shine.


All of these pictures were taken after the quilt had been washed so it is nice and crinkly. The quilting is very simple with a line of stitching surrounding all of the pieced squares and then diagonal lines through each square to finish it off.


The thread is a Sulky Blendable. It is a pastel color way with pink and blue and yellow.


The binding is made from one of the summer gowns. It is a large floral that includes all the colors. The finishing touch is a special label honoring a special mom and wife. This quilt was commissioned by her daughter and was given to her husband. There is a second quilt in the works. It is much bigger and a pattern that I have not used for a memory quilt before. I hope to be sharing that one soon.

Sunday, November 30, 2014

Giraffe Baby Quilt and Tutorial


This project was not one on my list. It is the giraffe's fault. Does that happen to you sometimes? I just happened upon this adorable giraffe print in the clearance bin at my local quilt shop a while back and had to have it.
I have a thing for giraffe's anyway and decided it would be fun to make a baby quilt with this fabric. It needed to be fast and fun. This quilt top only needs six fat quarters for the blocks (I used two fat quarters of the giraffe print plus four others), one fat quarter for the setting squares, and a yard of fabric for the sashing.

First, cut four 7 1/2" squares from each of the six fat quarters. You will have 24 squares total.
Sort the squares into pairs, making twelve pairs. I tried to maintain good contrast with each pair. Take each pair and place them right sides together.
Stitch a quarter inch seam on each vertical side of the blocks. Next, cut each block in half. The center of the block will be 3 3/4" from the side.
I could have just pressed these open and moved on but the blocks would be rectangles rather than squares and I wanted square blocks for this project. Rotate your block 90 degrees.
Trim 1/2" from one side. Press your blocks open.
Each block should measure 7" square. Repeat this with each pair of blocks. This goes really fast. Once your blocks are made, lay them out in six rows with four blocks each.

The blocks can all face the same way or be rotated or whatever looks best to you. I intended to have mine facing all sorts of directions but it got too busy and my giraffes were happiest when they were all playing close together.


From the remaining fat quarter, cut 35 2 1/2" squares for your setting squares. From the remaining yard of fabric, cut 58 2 1/2" x 7" rectangles for your sashing. All that is left to do is sew your blocks and rows together. Easy peasy.
This really is an easy project to make but I have to confess that it took me a little longer to get there. The blocks were a piece of cake. They came together in under two hours. Then I got a little over confident and decided to just throw a white sashing between the blocks and call it done.
Super duper fast. But I didn't like it. All that fun fabric and I thought the end result was sort of plain. It was all blue and yellow and white and totally ignored that awesome green color in the giraffe print. So I threw some green on top of it and knew I had to fix it. I painstakingly unstitched enough to add setting squares in the body of the quilt. Here's the first one.
Here's how it looked when I finished that step.
That was definitely better to my eye, but still incomplete. I took those outer borders off and added setting squares there, too.
Now it is complete. And adorable. With just the right amount of blue, yellow, AND green. The lesson learned here is to always play around with the layout and colors as much as possible before jumping into a quick project. There will still be times when changes are needed but I am certain I would have saved myself a little bit of unsewing if I had taken the time to really look and think before starting.

I have a nice yellow back and bright blue/teal binding all ready to go.

The quilting will have to wait a bit though. I'm out of 505 basting spray. Guess that means I'll be heading to the local quilt shop soon to restock. I can't wait to see what is in the clearance bin this time!

Related Posts Plugin for WordPress, Blogger...