
Showing posts with label quilting. Show all posts

Sunday, June 14, 2015

Raindrops - A Finished Quilt


It was my turn to be in charge of the quilt for our do. Good Stitches Believe Circle quilt in May. I love the months leading up to my turn. I'm always on the look out for something special for our group to make. Most of my ideas come from my quilt inspiration board on Pinterest. This month was no different. There was an art print that I wanted to turn into a quilt and I knew this group of quilters would be up for the challenge.

I sent them all a link to the print and a template to use so the raindrops would all be the same size.


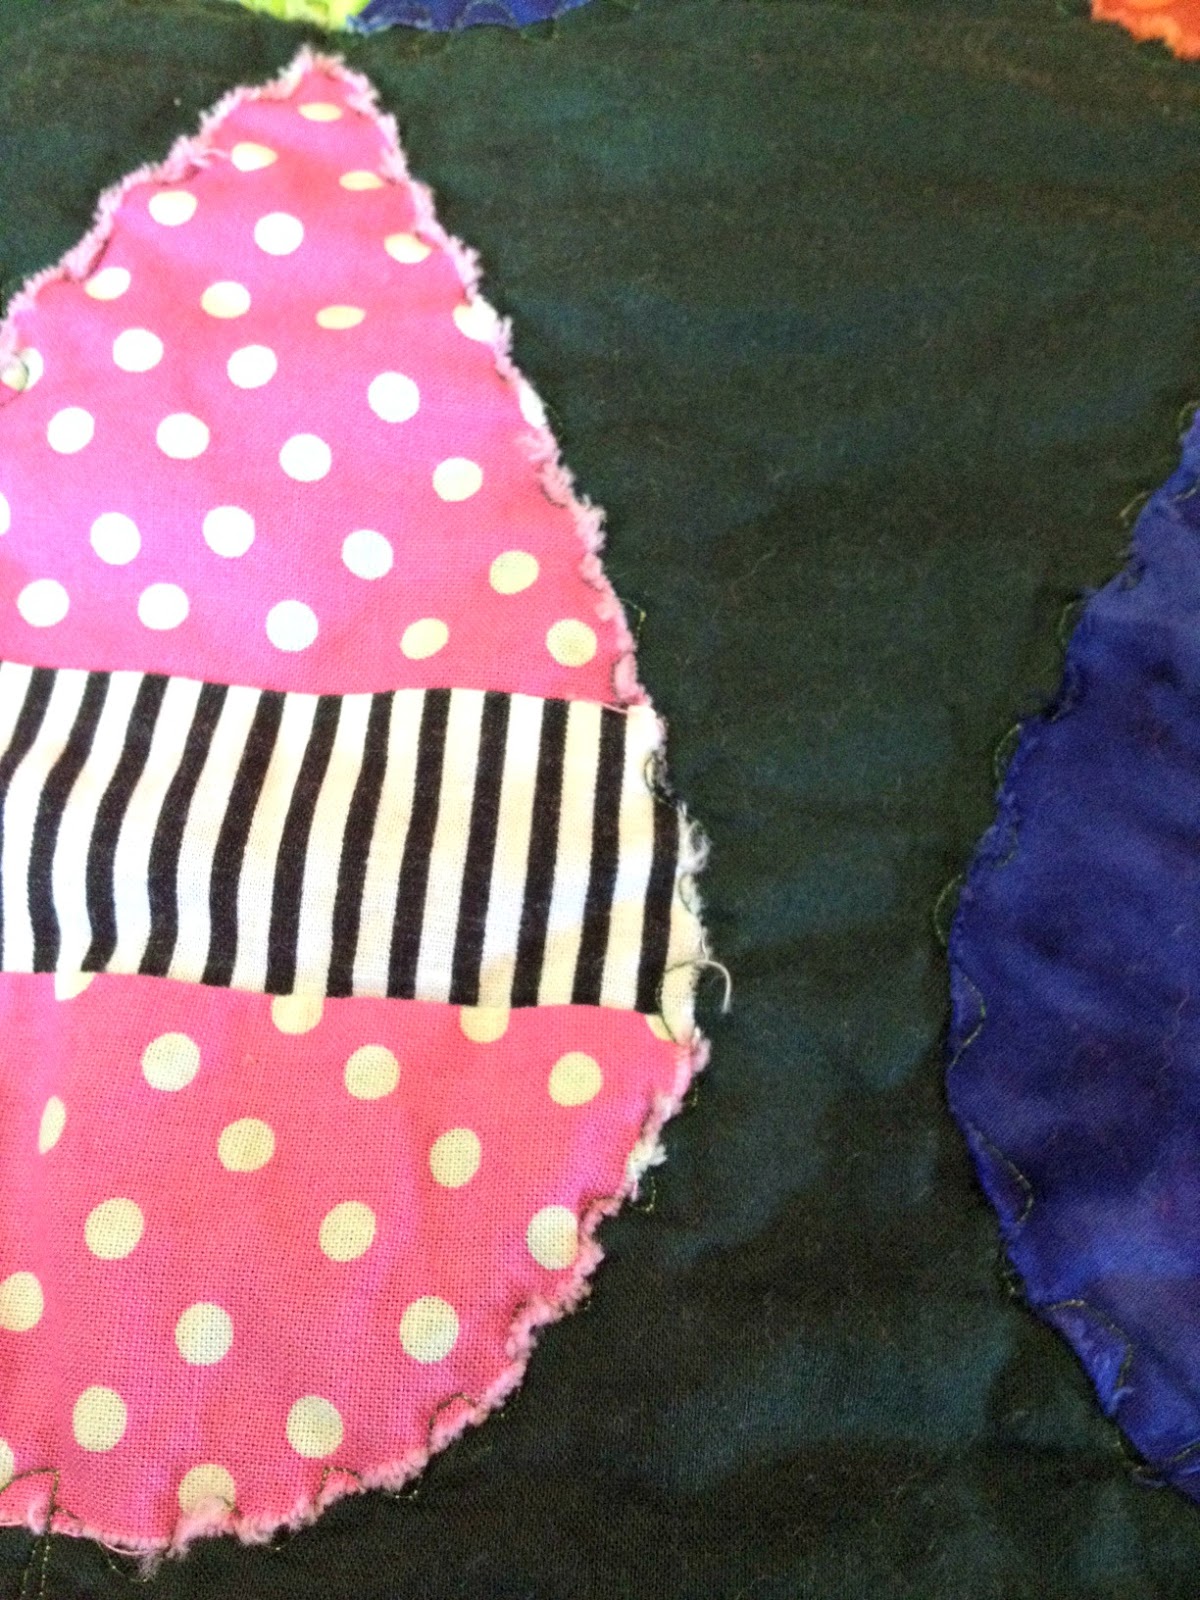
I sent them a picture of my raindrops, too, to help them get inspired.


They took it from there. Once all the fun mail arrived, there were 56 raindrops to play with. No piecing, lots of piecing, applique; these raindrops had it all. And plenty of color, too.


The art print had a dark background and I wanted to do the same but I did not want to use black. I tried several options, including some light colors, and settled for a deep forest green for the background.


There is a bit of experimentation in this quilt. I wanted to raw edge applique each raindrop to the background as part of the quilting process. Two steps in one, right? I didn't want to use any sort of fusible to hold the raindrops down because I wanted the finished quilt to be soft and cuddly. The solution was to use spots of 505 spray to adhere them to the background. Once I started quilting, they all started coming loose (505 is a temporary adhesive so I knew I was taking a risk) and I was in fear of having them all fall right off the quilt top. With the quilt under the machine, I carefully pinned each raindrop to the quilt to assure it would stay put until it was stitched down.


The quilting is a free motion squiggly line around each of the raindrops, to secure them to the quilt and leave plenty of room for some good fraying once the quilt is washed. This might be the first quilt I have ever done completely with free motion and no thread breaks. It was wonderful and allowed me to complete all of the quilting in under three hours. That might be a record.


The binding is from one of the first fabric lines I carried when I had my shop. It is Baby Genius from Benartex. 2006 I think. It is fun and bright and adds whimsy to any quilt.


Here is a view of the back. I had to go with a sunny yellow on the back to counter all the rain happening on the front.


All of the pictures so far were taken before the quilt was washed. Since all of our Believe Circle quilts end up in the hands of children, I always wash them before sending them off.


Here's how those raindrops fared after a good wash and dry.

And, of course, no quilt is complete without our awesome do. Good Stitches label. 


This quilt will be headed to a new home this week.


Lucky me, I'm in charge of our quilt for June, too.

Friday, May 9, 2014

A Quilt for a Teacher


My daughter is just finishing her first year of teaching. She has had a year full of stories and experiences and there were a few people she wanted to say a special thank you to for helping her make it through. Her list started quite long but with the realization that time was catching up to her, she whittled the list down to three. Three quilts for three special people.


She came home for her spring break back in March thinking we would make three quilts together. And we tried...and managed to get two quilt tops completed.


Here is one of them. I didn't get a picture of the second one, and I don't even remember what it looks like now. She has already shared the tops and will be bringing them back home this summer to be quilted and finished. I'll get better pictures then.

With spring break at an end, there either wasn't going to be a third quilt or I was going to have to make it without her. We had already settled on a design so I started plugging away at it. The design comes from a Moda Bakeshop Pattern Mixed Bag by Studio m. I'm trying to use up my batik stash since I haven't been using those very much lately. This was the perfect quilt to help with that.


The pattern is meant for a jelly roll, which would have made it go together quickly. Instead, I spent a good deal of time sorting through and cutting scraps. It was well worth it though. I was a little nervous about matching all those seams when the vertical strips went together, but it was easy peasy since the seams were pressed in opposite directions.

To quilt it, vertical lines were quilted a quarter inch away from either side of each vertical seam. Then free motion sewing commenced with simple meandering on each vertical panel. I'll be shipping this quilt off later this week. It's always nice to say thank you with a quilt.


Sunday, May 5, 2013

Mother's Day Gift Making - Improv Pot Holders


Recently, my mom moved away. She decided that life needed just a little more adventure, so she moved to Florida to be near her sister. The two of them enjoy spending time together, and now, they're in the same neighborhood and can get in all kinds of trouble enjoy each other's company even more.

With the move came the need for a fresh start in all things, including decorating. All I know is that she's going for less traditional, more contemporary look in citrus colors. I thought I'd do my part by sending a couple of kitchen accessories for Mother's Day.

My daughter, Erica, and I went through my stash and pulled a wide range of citrus colors.


This is just one of several groupings we put together. I really did not have a plan for what the design would look like.

First, I cut 2.5" strips from the yellows/oranges and made a wonky strip set. This made me think about the sun's rays, so I cut the strip set apart at angles and separated them with lime green strips.
None of this was measured. I played with my ruler until I liked the look, then cut the strip set apart. The green was handled in the same manner. It's all  by eye. Once everything was sewn together, the block was squared up to 8.5".

The second block is a simple square in a square. For both of these blocks, you can see from the original stack of fabric that some was added and some was taken away as the block progressed. Sometimes it's fun to be free to change as you go rather than to be constrained by a predetermined set of fabrics. These blocks needed fun backs, so it was back to the stash for that.

Because these are going to be hot pads or pot holders, I added two layers of Therma-Flec to the batting.

The square in a square version was quilted in a big spiral. I love the look of this quilting and I'm thinking about trying it on a bigger project soon. Small projects are so great for trying out quilting designs.
It looks good from the back, too.
Here's the quilting on the sun rays block. I was hesitant about the squiggly lines on the green, but am pleased with the result. Much more fun than sticking with straight lines.
The back of this one is fun, too. It's always good when a project can be used from either side.
My mom is a sometimes blog reader. It's okay if she gets a sneak peek; projects are always better in person than in pictures. Some happy mail will be coming her way in the next few days.
Happy Mother's Day, Mom!

Saturday, March 30, 2013

Quilting Practice - Paisleys

This week I used another pieced block from the 2012  Craftsy Block of the Month for quilting practice.


Paisley practice from Angela Walters Quilting Negative Spaces class was the goal. Before getting started with the paisleys, the center needed some quilting.


Those flowers in the center were worthy of some special attention so I outline quilted around them, then filled in the rest with a small meander.


I think that if I had it to do over again, I might have chosen a darker thread. This was a Sulky Blendable that was in my thread stash.


Once the center area was quilted, it was time to quilt some paisleys!


These were fun and easy to quilt. I like that the shape is smooth and flowing so it was easy to get into a rhythm.


I'm not sure how paisley-ish these look; raindrops or teardrops might be a better description. 


It's nice to practice on such a small piece. I found myself spinning the block around often in order to hit the paisley at just the right angle. I wouldn't be able to do that with a big quilt.


Here it is from the back. The stitching is easier to see with the contrasting color.


I'm happy with the way this block turned out.


Next time I practice, it will be time to start experimenting with combining designs...circles and swirls maybe.

Wednesday, March 27, 2013

A Lovely Year of Finishes - March Finish


For March, I committed to finish this quilt top, and finish I did.


The top is from a class I taught some years back based on a Debbie Caffrey pattern. You can check out my commitment post here. I found a quilt design on Pinterest to use for inspiration. Of course I didn't pin it and now can't find it. Sigh. That inspiration formed the basis for the four cream squares in the center. This quilt top is a little more formal than most that I quilt; there's even a bit of metallic in that border fabric. I decided that it deserved something a little more structured and formal.


From there, I mimicked the double loop design on all of the other cream areas.


Other than the four cream squares in the center, I had no idea how this project would be quilted. It was simply a step at the time. Those double loops served me well throughout the quilt. They are featured in the center block.


They are featured in a bigger scale on the 16-patch blocks.


All of the triangles that form the points on all of the blocks were quilted with a trio of double loops, too.


I had to take a break when it came time to quilt the border; I had no idea what to do. More double-loop flower thingies? Pebbles? Wavy lines? Nothing sounded right. So I walked away for a bit and then it hit me...feathers; the outer border needed feathers.


I had never quilted a feather before so I went back to Angela Walter's Quilting Negative Spaces class that I took on Craftsy. I just love that I can go back and watch those videos over and over again. One of the last lessons showed how to quilt this awesome peacock feather.


I was so anxious to get this finished that I didn't even practice before trying them on the quilt. I did draw some on paper to get familiar with the design and motion, but these feathers are the first I've ever sewn. They were FUN to sew and were a good way to finish this quilt.


The plan was for the feathers to extend over the entire border but when I was finished, there were little bare triangles on each corner of the quilt. Those blank spaces were just the right size for another double-loop flower.

The quilting is a bit easier to see from the back, which is made from a Robert Kaufman Fusion fabric.


It's hard to see here, but one of the challenges I faced was when to stop and start the quilting versus when to travel to the next location. I started out doing lots of starts and stops, but about half way through I switched to traveling. You can see a few lines on the back where I was sewing around the outside of the star points to get to the next location.


And, for me, one of the most important parts of this quilt...the thread.


That green spool was a 40 wt Aurifil in a dark blue. It was a new spool and was *just* *enough* *to* *finish* *the* *quilt*. Yeah, I was sweating it a bit there at the end. The other two spools are 50 wt and were used for the lighter areas.


This was a good finish, though a tough one. I wasn't sure it was going to get done, but once I got started it began to flow. I've already selected a project for April...I'm gonna go a little easier on myself next month.
A Lovely Year of Finishes

Thank you, A Lovely Year of Finishes, for keeping me going strong.
Related Posts Plugin for WordPress, Blogger...