Welcome to week two of the first project in our series, Quilts Inspired By Art. This week we are cutting and piecing our quilt top. If you missed last week's post, go check it out.

This greeting card, made by Linda Aarhus of Polka Dots and Paper, is our inspiration. I think the quilt top looks very close to the inspiration piece. The scale of the print is a lot smaller but in general, this project is on the right track
Last week, we talked about choosing fabric and the yardage requirements needed to make this quilt. This week we are going to finalize our pattern, cut our fabric, and piece the quilt top.

While it looks like the basket weave effect might be complicated, it is really simple if the design is broken down into rows. Here it is translated to a pattern. There are three fabrics and seven rows in the body of the quilt. The light gray is the background; the dark gray is the vertical stripe; the white is the print horizontal stripes.
CUTTING INSTRUCTIONS
Light Gray Background
Cut one 15 1/2 inch strip from the width of fabricDark Gray Vertical Stripe
From the strip, cross cut
one 22 1/2 inch piece
one 5 1/2 inch piece
Cut one 6 1/2 inch strip from the width of fabric
From the strip, cross cut
one 22 1/2 inch piece
one 5 1/2 inch piece
Cut three 2 inch strips from the width of fabric
From one strip, cross cut
two 15 ½ inch pieces
four 2 inch pieces
From one strip, cross cut
one 22 ½ inch piece
one 6 ½ inch piece
one 5 ½ inch piece
From one strip, cross cut
one 22 ½ inch piece
one 6 ½ inch piece
one 5 ½ inch piece
Cut three 5 inch strips from the width of fabricWhite Horizontal Stripe
From one strip, cross cut
two 15 1/2 inch pieces
From one strip, cross cut
one 15 1/2 inch piece
three 6 1/2 inch pieces
From one strip, cross cut
five 5 inch pieces
six 2 inch pieces
Cut three 5 inch strips from the width of fabricInner Border
From one strip, cross cut
one 5 ½ inch piece
one 8 inch piece
one 22 ½ inch piece
From one strip, cross cut
one 5 ½ inch piece
one 8 inch piece
one 22 ½ inch piece
From one strip, cross cut
one 11 ½ inch piece
one 28 ½ inch piece
Cut five 2 1/4 inch strips from the width of fabricOuter Border
Cut five 3 1/2 inch strips from the width of fabric
PIECING INSTRUCTIONS
The piecing is very simple. The most difficult part is making sure each piece is in the correct place and turned the right way since some of the pieces are very close in size. Check carefully before sewing. All seams are ¼ inch wide.

All of my cut pieces are laid out and ready to be assigned to a row.

As each row was arranged, I kept this ruler close by to verify measurements for pieces that were similar in size.
Row One

5 ½, 5, 2, 5, 2, 5, 22 ½
All pieces are cut 6 ½ inches wide for this row. The cut length of each piece is listed under the picture of the row. Arrange the pieces and sew together as shown. For row one, press seams toward the dark gray.
Row Two

5 ½, 5, 8, 5, 22 ½
All pieces are cut 5 inches wide for this row. The cut length is listed under the picture.
Arrange the pieces and sew together as shown. For row two, press seams toward the white (or print).
Row Three

5 ½, 5, 2, 5, 2, 5, 22 ½
All pieces are cut 2 inches wide for this row. The cut length of each piece is listed under the picture.
Arrange the pieces and sew together as shown. For row three, press seams toward the dark gray.
Row Four

11 ½, 5, 28 ½
All pieces are cut 5 inches wide for this row. The cut length is listed under the picture.
Arrange the pieces and sew together as shown. For row four, press seams toward the white (or print).
Row Five
Repeat Row Three.
Row Six
Repeat Row Two.
Row Seven

5 ½, 5, 2, 5, 2, 5, 22 ½
All pieces are cut 15 ½ inches wide for this row. The cut length is listed under the picture.
Arrange the pieces and sew together as shown. For row seven, press seams toward the white (or print).

Here are my rows all ready to sew. There was only room for the first six on my cutting table so I stitched those together first, then laid out and stitched the last row.

Oops. There is a mistake on row two. I was a bit of a smarty pants and was not checking the pattern closely enough as I was stitching. It is easy enough to correct. Those first two print pieces need to be swapped.

That is much better. Once your rows are completed, sew them together and press the seams. I pressed toward the row with the least amount of seams.

Now, to add the borders. I decided to stick with the color plan of the inspiration card and used the dark (red) for the first border. Measure the sides of your quilt and cut your borders to length. You will need to piece the borders for the top and bottom to have enough length. I added the side borders first, then the top and bottom.

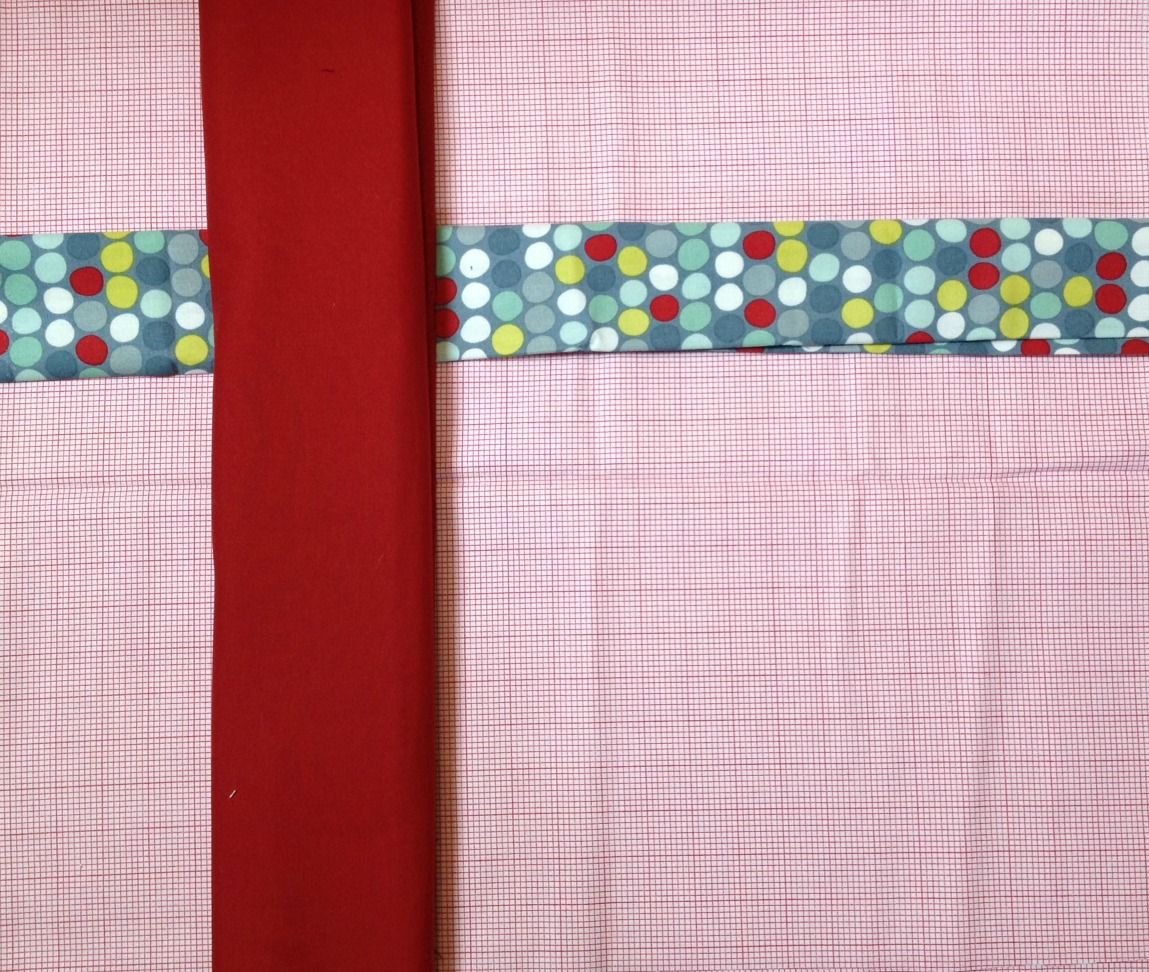
I have not added the second border to my quilt yet. I really like the pop of color the outer border adds to the inspiration card, and I did not have enough of anything on hand. There will be a shopping trip happening in the next day or two to take care of that. I did have some scraps on hand to experiment with.

The piecing is very simple. The most difficult part is making sure each piece is in the correct place and turned the right way since some of the pieces are very close in size. Check carefully before sewing. All seams are ¼ inch wide.

All of my cut pieces are laid out and ready to be assigned to a row.

As each row was arranged, I kept this ruler close by to verify measurements for pieces that were similar in size.
Row One

5 ½, 5, 2, 5, 2, 5, 22 ½
All pieces are cut 6 ½ inches wide for this row. The cut length of each piece is listed under the picture of the row. Arrange the pieces and sew together as shown. For row one, press seams toward the dark gray.
Row Two

5 ½, 5, 8, 5, 22 ½
All pieces are cut 5 inches wide for this row. The cut length is listed under the picture.
Arrange the pieces and sew together as shown. For row two, press seams toward the white (or print).
Row Three

5 ½, 5, 2, 5, 2, 5, 22 ½
All pieces are cut 2 inches wide for this row. The cut length of each piece is listed under the picture.
Arrange the pieces and sew together as shown. For row three, press seams toward the dark gray.
Row Four

11 ½, 5, 28 ½
All pieces are cut 5 inches wide for this row. The cut length is listed under the picture.
Arrange the pieces and sew together as shown. For row four, press seams toward the white (or print).
Row Five
Repeat Row Three.
Row Six
Repeat Row Two.
Row Seven

5 ½, 5, 2, 5, 2, 5, 22 ½
All pieces are cut 15 ½ inches wide for this row. The cut length is listed under the picture.
Arrange the pieces and sew together as shown. For row seven, press seams toward the white (or print).

Here are my rows all ready to sew. There was only room for the first six on my cutting table so I stitched those together first, then laid out and stitched the last row.

Oops. There is a mistake on row two. I was a bit of a smarty pants and was not checking the pattern closely enough as I was stitching. It is easy enough to correct. Those first two print pieces need to be swapped.

That is much better. Once your rows are completed, sew them together and press the seams. I pressed toward the row with the least amount of seams.

Now, to add the borders. I decided to stick with the color plan of the inspiration card and used the dark (red) for the first border. Measure the sides of your quilt and cut your borders to length. You will need to piece the borders for the top and bottom to have enough length. I added the side borders first, then the top and bottom.

I have not added the second border to my quilt yet. I really like the pop of color the outer border adds to the inspiration card, and I did not have enough of anything on hand. There will be a shopping trip happening in the next day or two to take care of that. I did have some scraps on hand to experiment with.

This light blue goes nicely with the lightest blue dot in the print fabric.

This citron green goes with the print fabric as well. I am leaning toward this color. It definitely pops.
What's up for next week? We will talk about adding lettering to our quilt top (I haven't decided if I want to add any letters to mine yet), and quilting options. I'm hoping to have a finished quilt to share with you, and maybe even a very girly color variation.
Thanks for following along.
Linking up with Design Wall Monday at Patchwork Times and Monday Making at Love Laugh Quilt. Also linking up with Fabric Tuesday at Quilt Story. More link ups with Work In Progress Wednesday at Freshly Pieced.

This citron green goes with the print fabric as well. I am leaning toward this color. It definitely pops.
What's up for next week? We will talk about adding lettering to our quilt top (I haven't decided if I want to add any letters to mine yet), and quilting options. I'm hoping to have a finished quilt to share with you, and maybe even a very girly color variation.
Thanks for following along.
Linking up with Design Wall Monday at Patchwork Times and Monday Making at Love Laugh Quilt. Also linking up with Fabric Tuesday at Quilt Story. More link ups with Work In Progress Wednesday at Freshly Pieced.